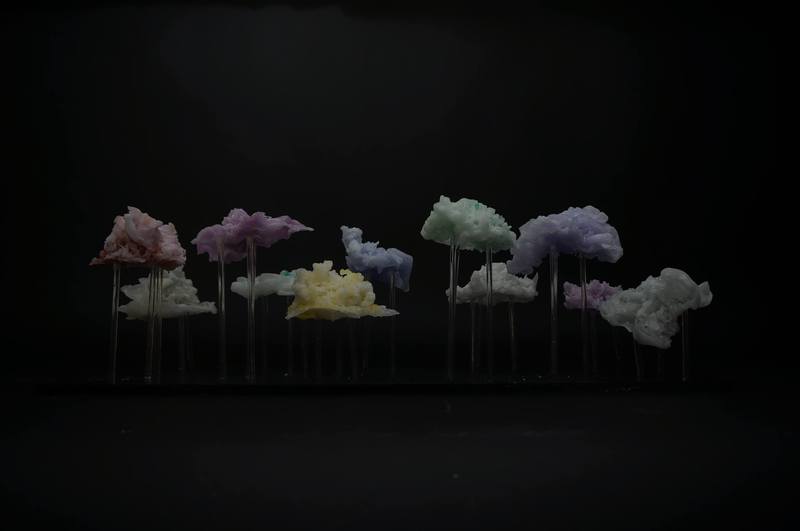
Day 7 // Final Output
Posted 22 May 2015 11:55
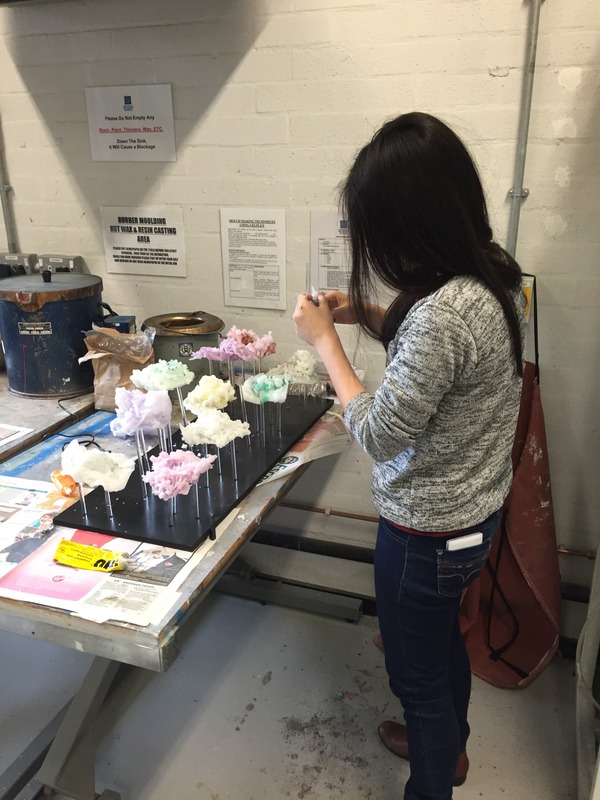
Day 6 // Assembly. We then uses glue to place the wax on top of the rods.
Posted 22 May 2015 11:39
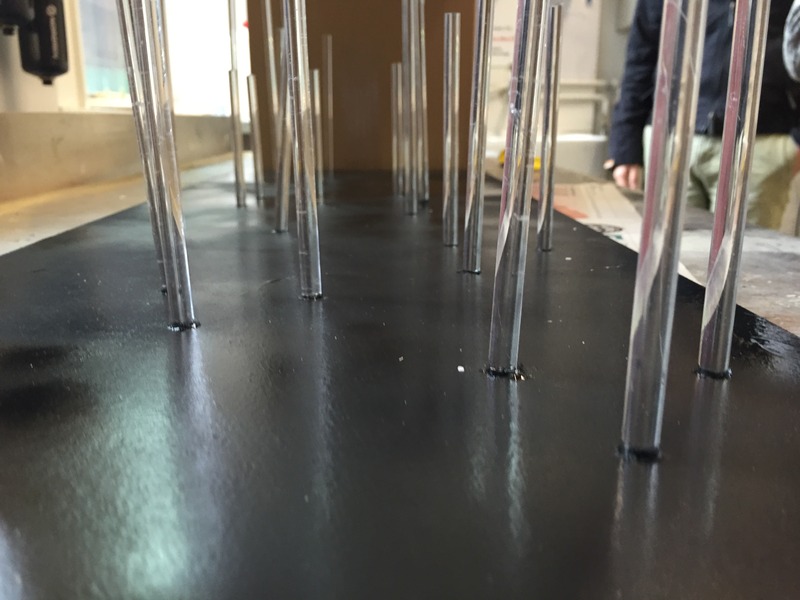
Day 6 // Assembly. Once all the components had been made we began to assemble them together. We did this by first puts the rods into the wooden board.
Posted 22 May 2015 11:38
Day 5 // Making. Once we had completed making the wax we had to create a base for the pieces to sit on. We went to workshop and cut up acrylic rods and stuck them into a wooden base which we had spray painted black .
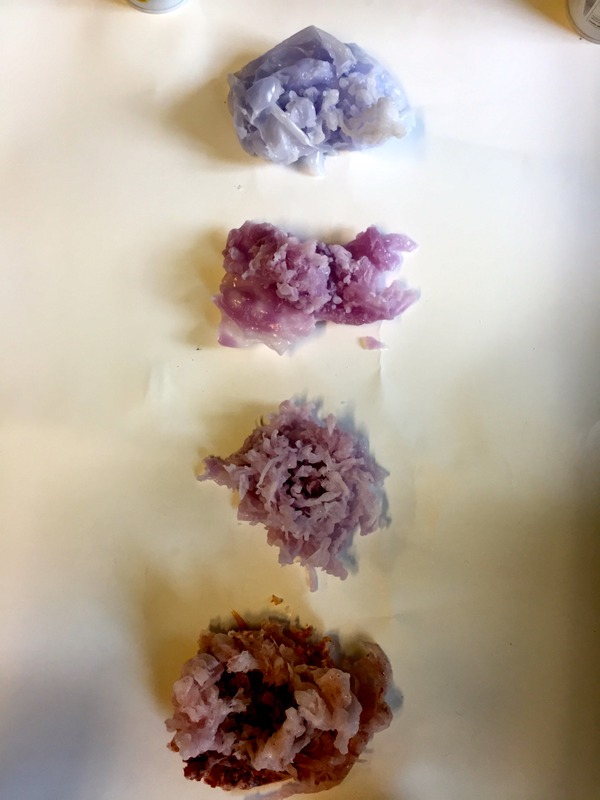
Posted 22 May 2015 11:30
Day 4 // Making. These were some of the wax shapes that we made.
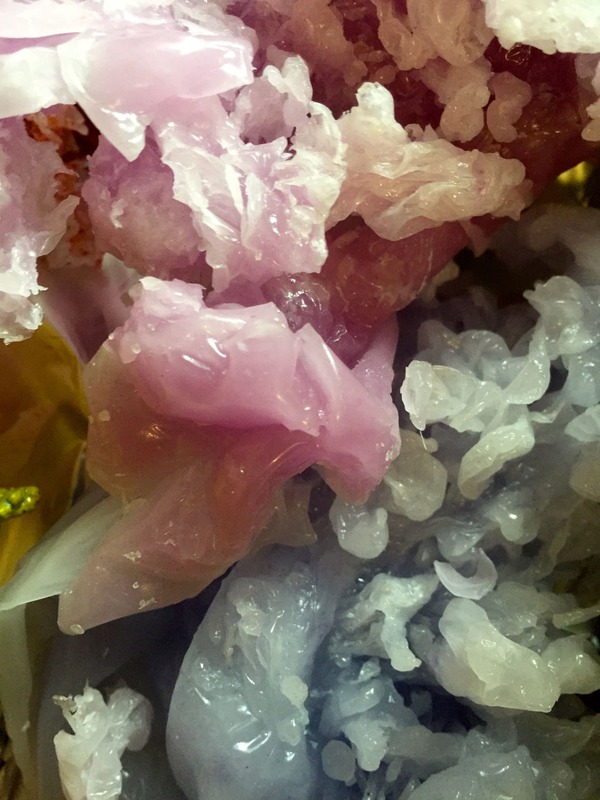
Posted 22 May 2015 11:25
Day 3 // Making. Once we had a clear idea we began to sculpt our pieces. We would melt about 100g of wax at a time and at a colour to it. We would then swirl the water in the bucket and then pour the wax into it from different heights.
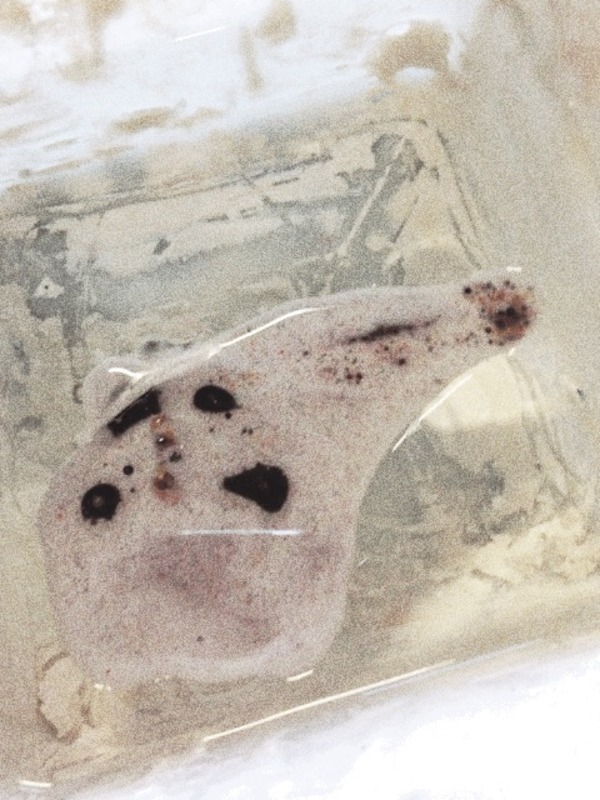
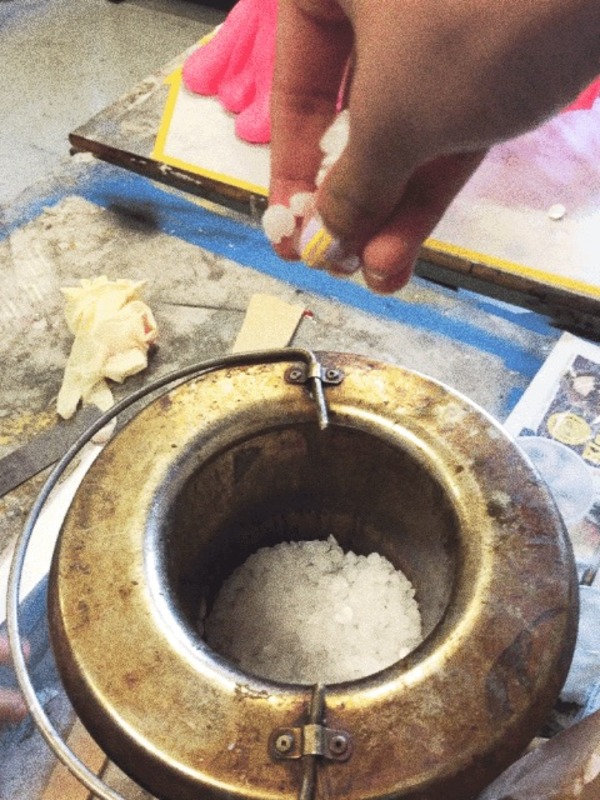
Posted 22 May 2015 11:24
Day 2 // Colour Experimentation. We then put the ink directly into the hot wax to see if this would better colour the wax.
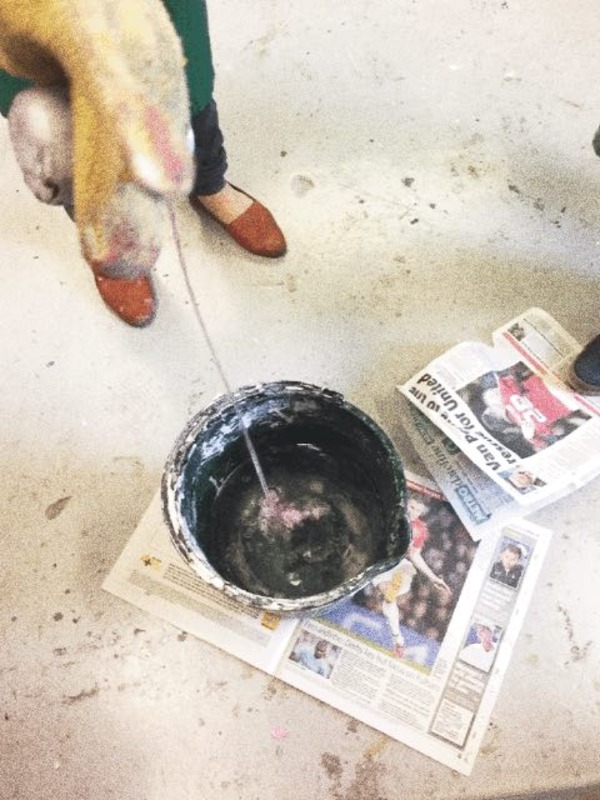
Posted 21 May 2015 12:15
Day 2 // Colour Experimentation. Our first thought was to ink the water to see if any of the colour would mix in with the hot wax.
Posted 21 May 2015 12:05
Day 2 // Experimentation. We liked the organic structures that were formed when we immersed the wax into water and this was the idea we wanted to experiment with further. We then decided to experiment by using colour.
Posted 21 May 2015 12:03
Day 1// Understanding the Material. We looked at moulding the wax buy pouring it onto a wire mould. We also moulded the wax by pouring into water and explored how the temeperature of the water affects how the wax behaves. The photograph shows some of our experimentations.
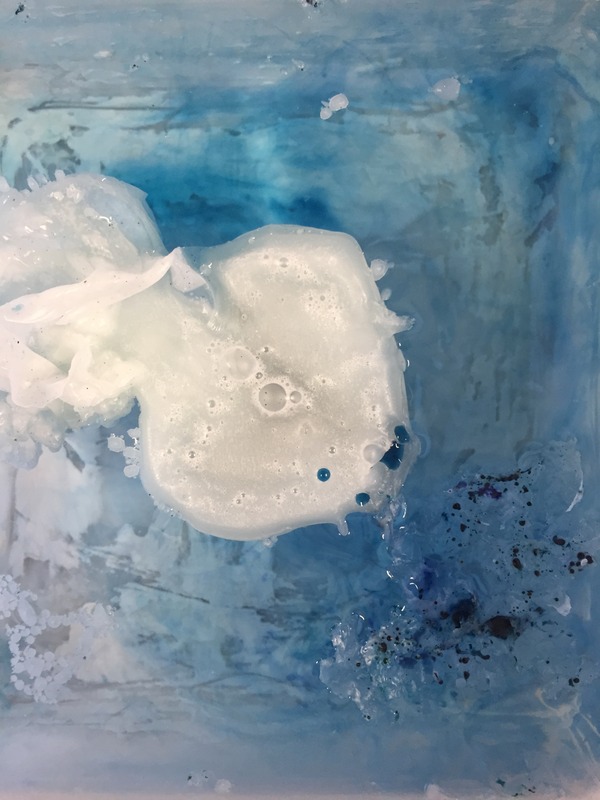
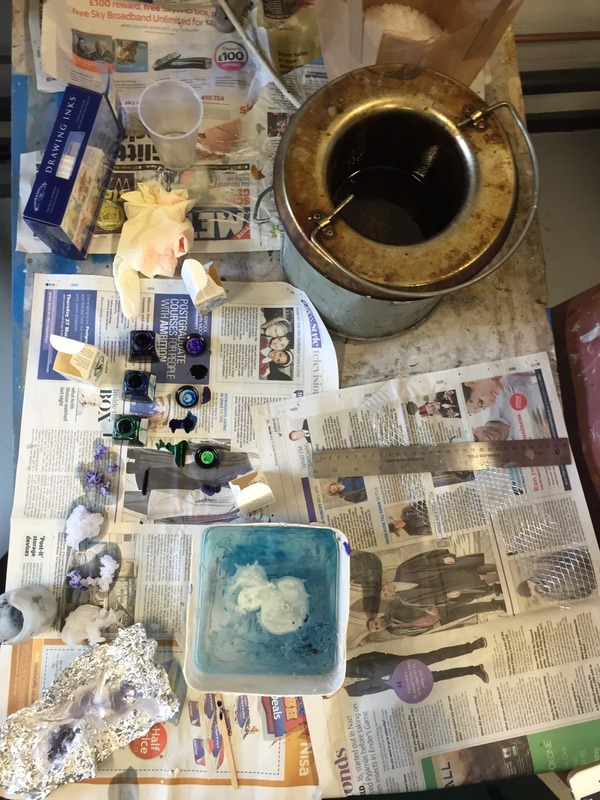
Posted 21 May 2015 11:59
Day 1 // Understanding the Material. Our first experiementation session we used it to test the different ways to form the wax.
Posted 21 May 2015 11:51