Final output
Posted 22 May 2015 13:39
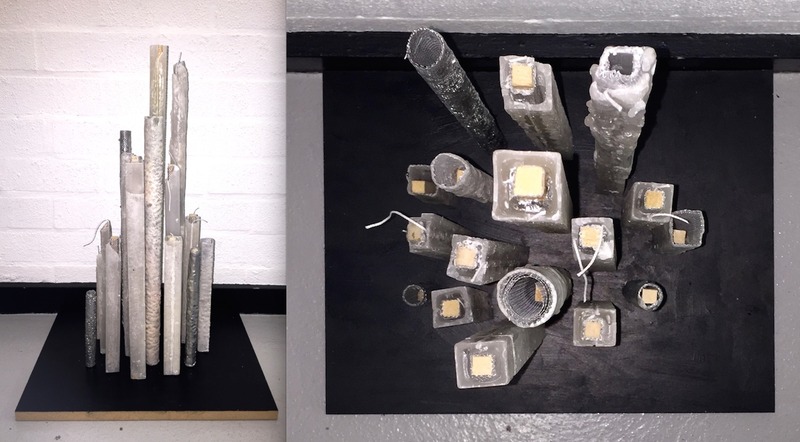
Final outcome_melted skyscrapers: melted and peeled off wax (building skin) and exposed wiremesh and wood structure (slightly burnt)
Posted 22 May 2015 13:19
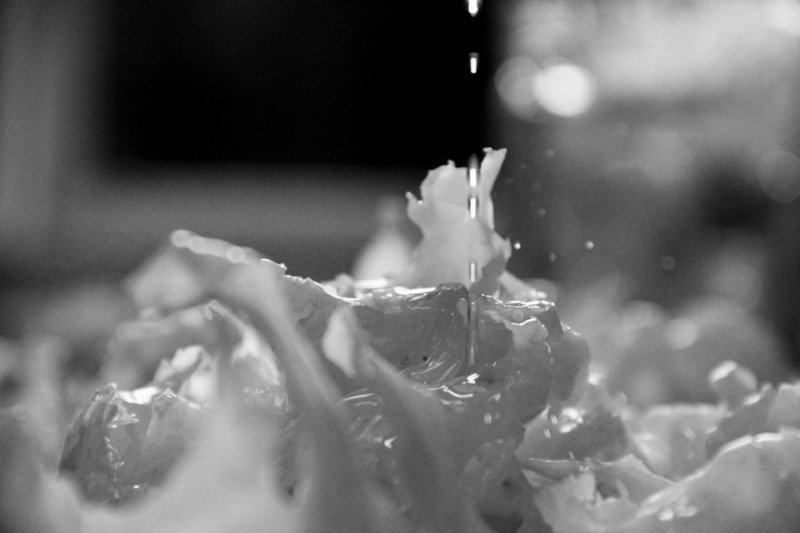
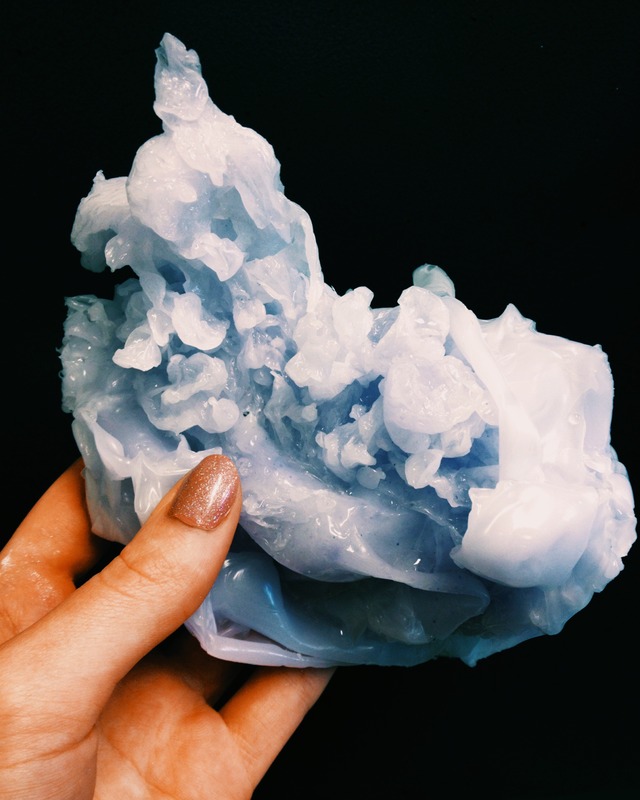
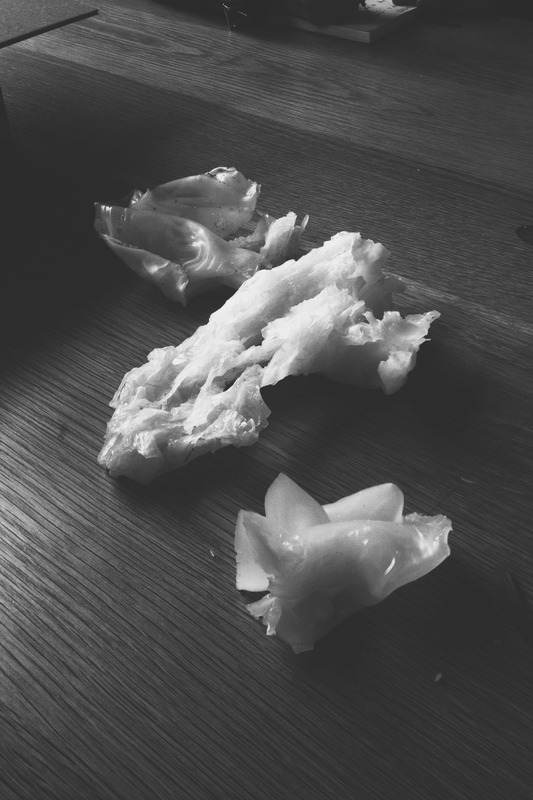
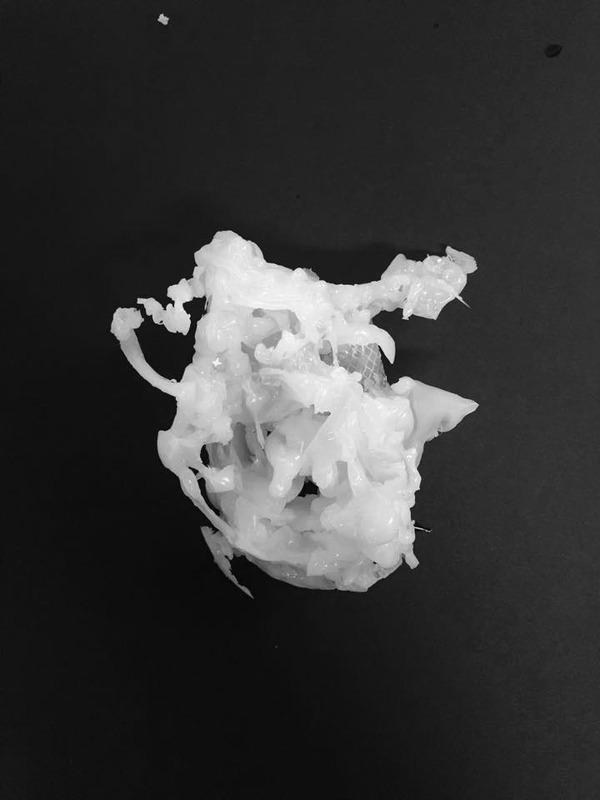
One of the free-form wax models.
Posted 22 May 2015 13:12
Final piece at the final stages of the process.
Posted 22 May 2015 13:10
Final piece | close up
Posted 22 May 2015 13:08
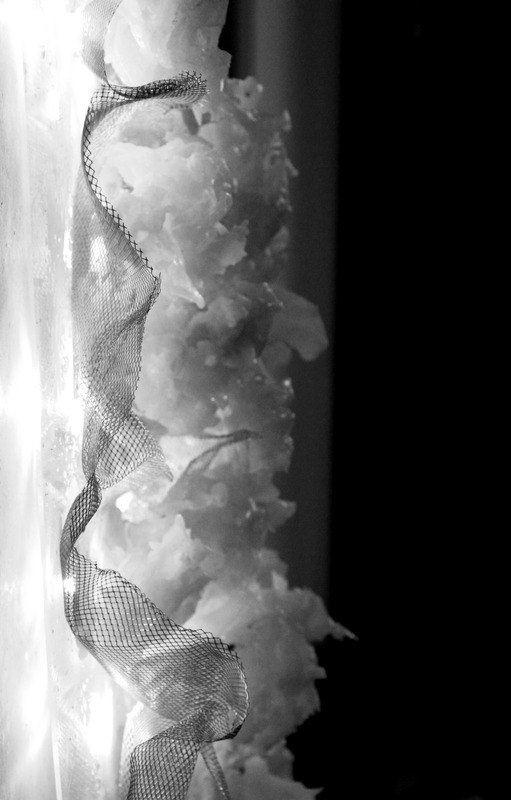
Final piece | side view
Posted 22 May 2015 13:06
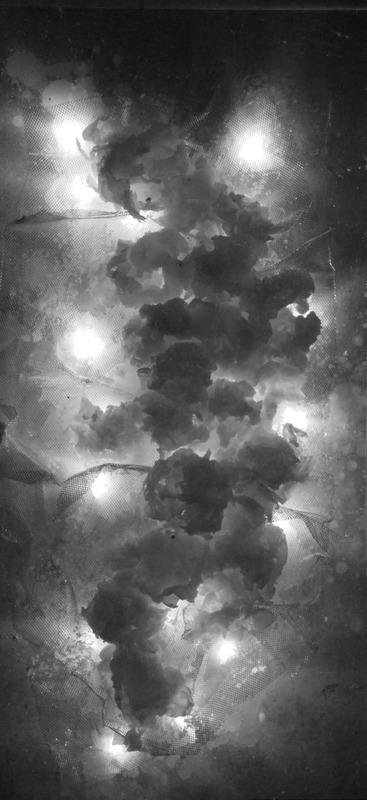
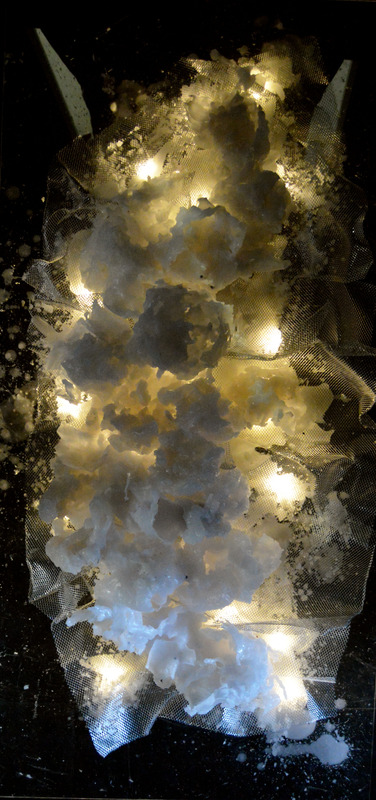
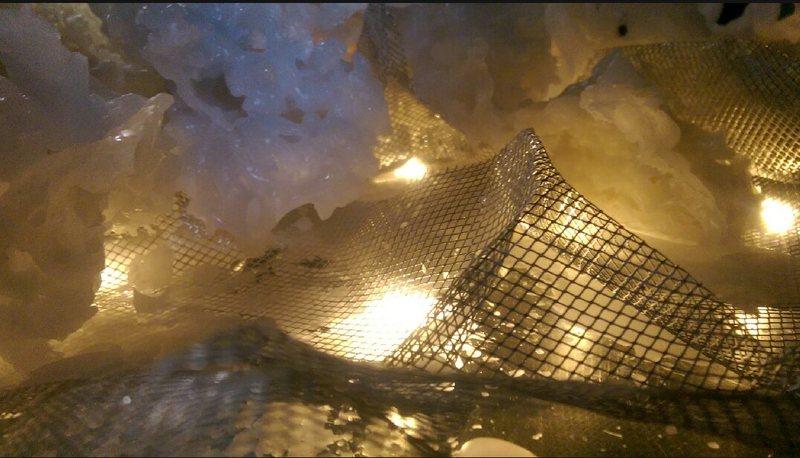
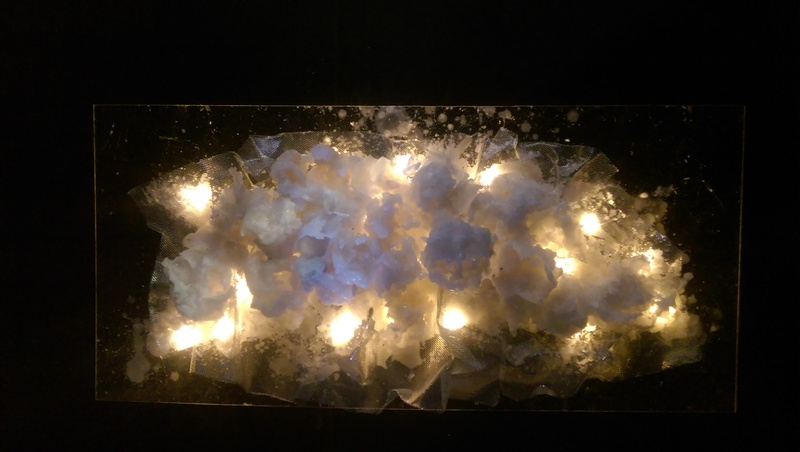
The final piece with the lights which created a really nice effect as it revealed all the shadows of the wax forms.
Posted 22 May 2015 13:03
To connect all the wax models with the base we used hot wax several times in order to create layers to make it more stable.
The final step was to add lights behind the perspex plate to create a nice effect.
Posted 22 May 2015 12:52
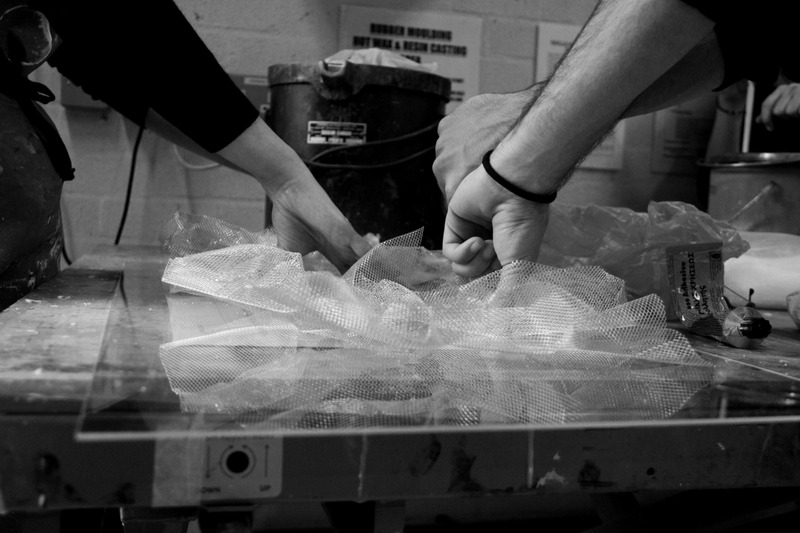
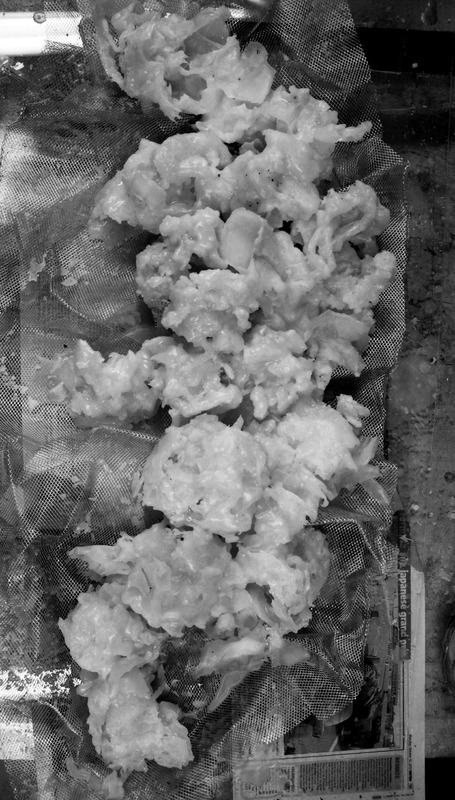
After we have finished all the wax models we used perspex plate as a base and placed folded wire mesh onto it to add texture and volume. The next step was to place all the wax models to the base.
Posted 22 May 2015 12:48
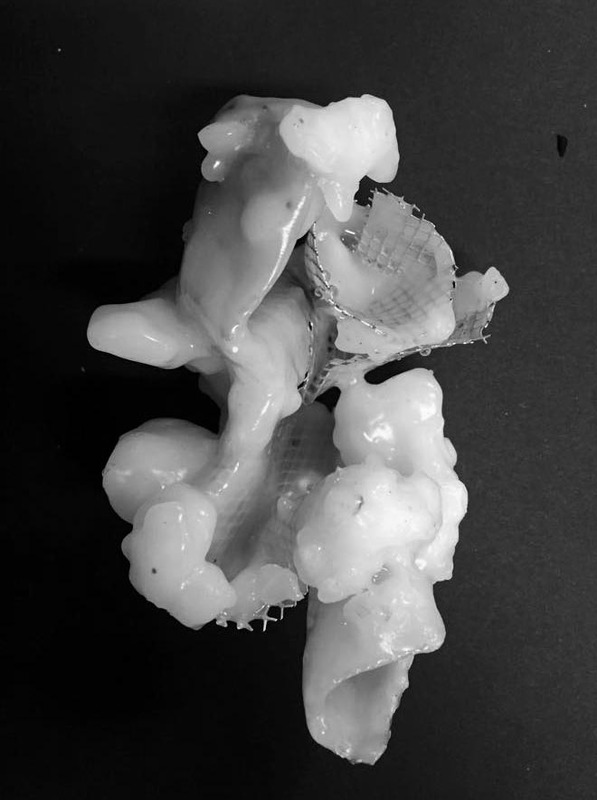
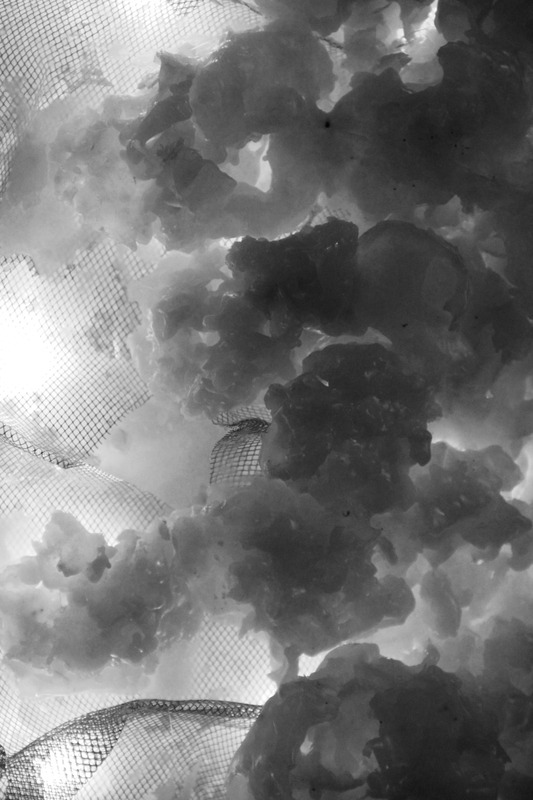
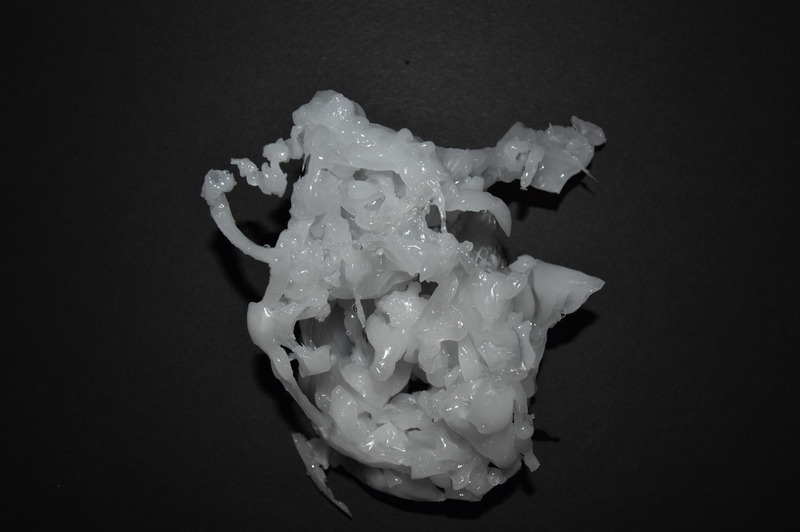
After several attempts the result of the combination of wire with wax was really beautiful. To have that result we had to create a lot of wax layers in combination with cold water which gave a stable form to the hot wax.
Posted 22 May 2015 12:45
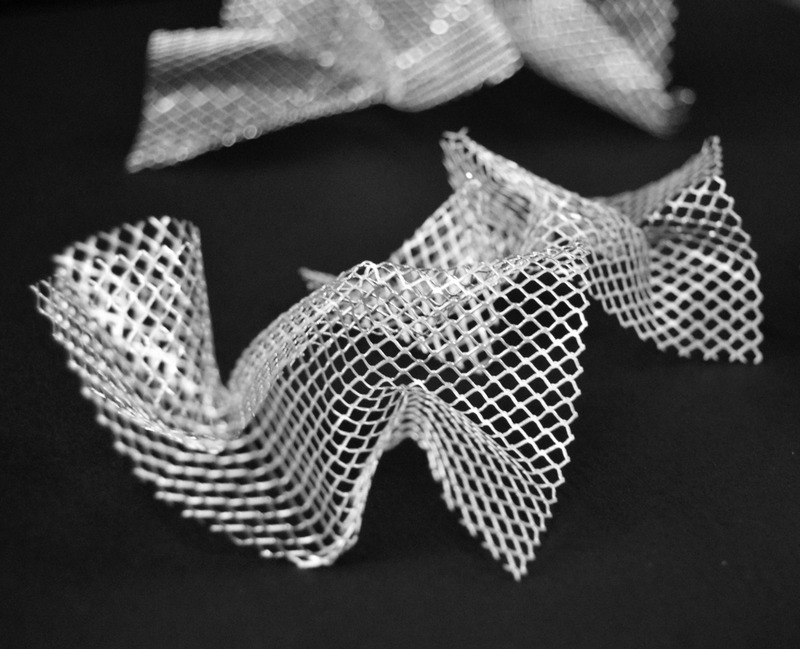
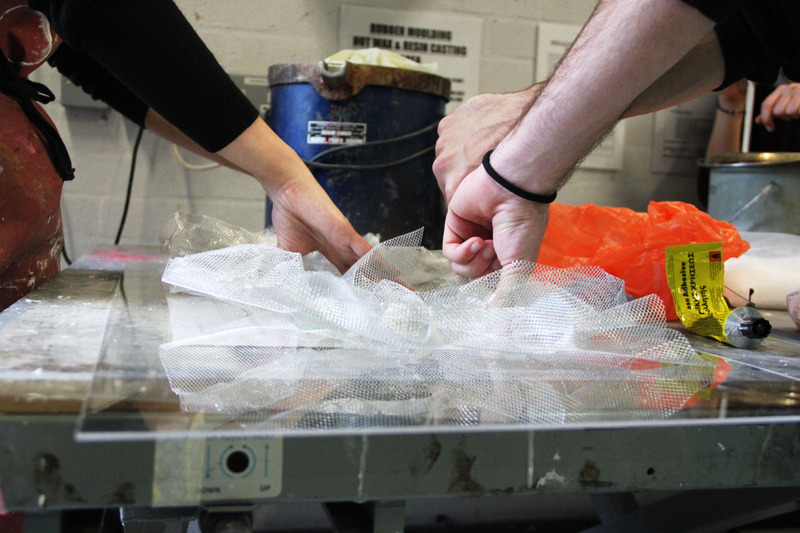
Our first attempt was to use folded wire mesh as a structure base for the wax to melt onto it. The first step was to fold the wire creating interesting shapes.
Posted 22 May 2015 12:41
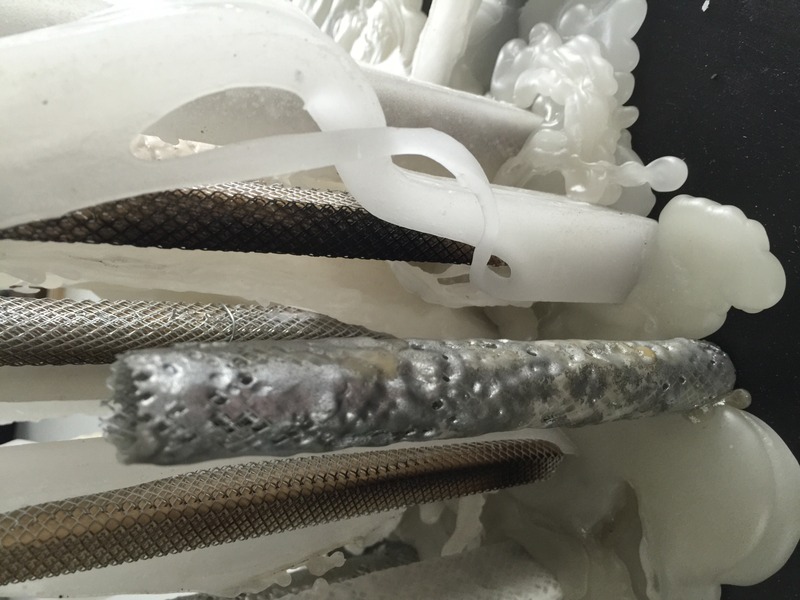
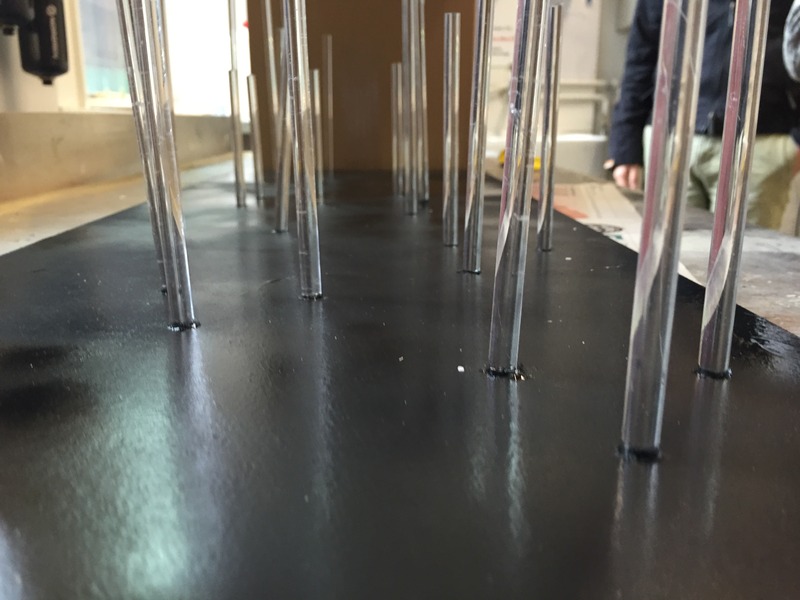
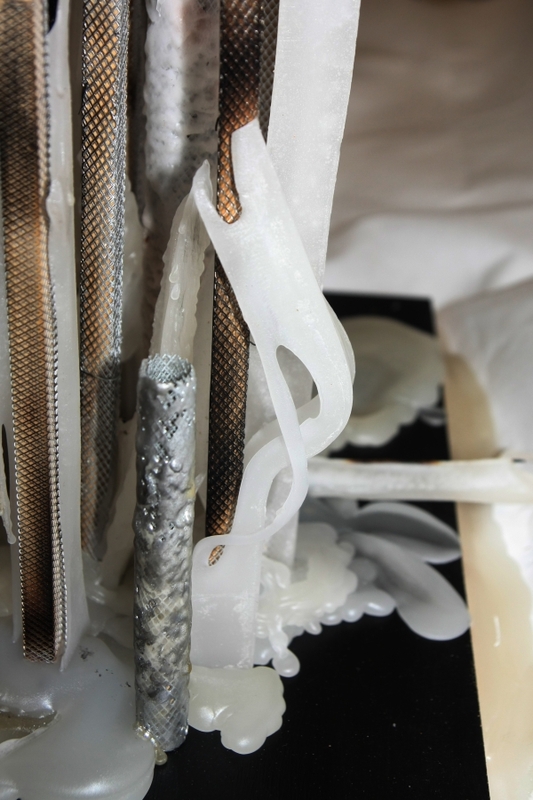
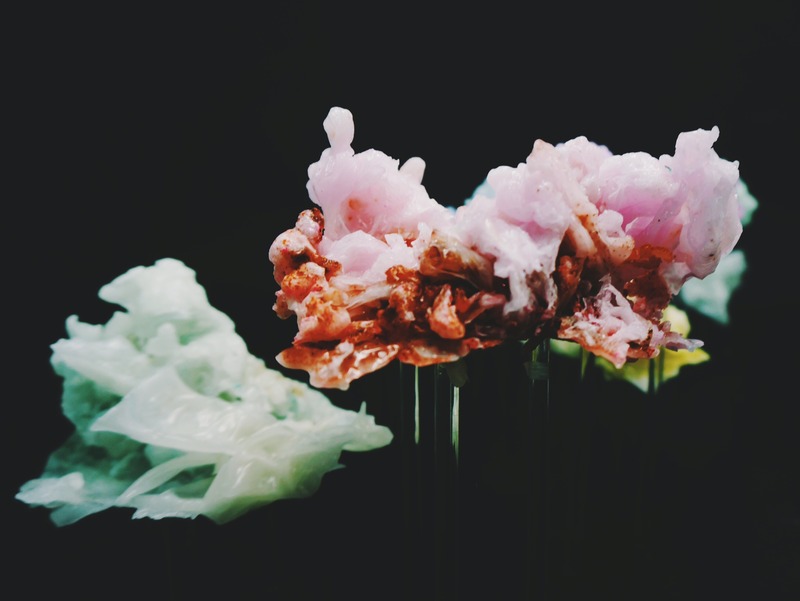
{210515 // final outputs- the rods were meant to somehow disappear as how wax behaves on water}
Posted 22 May 2015 12:41
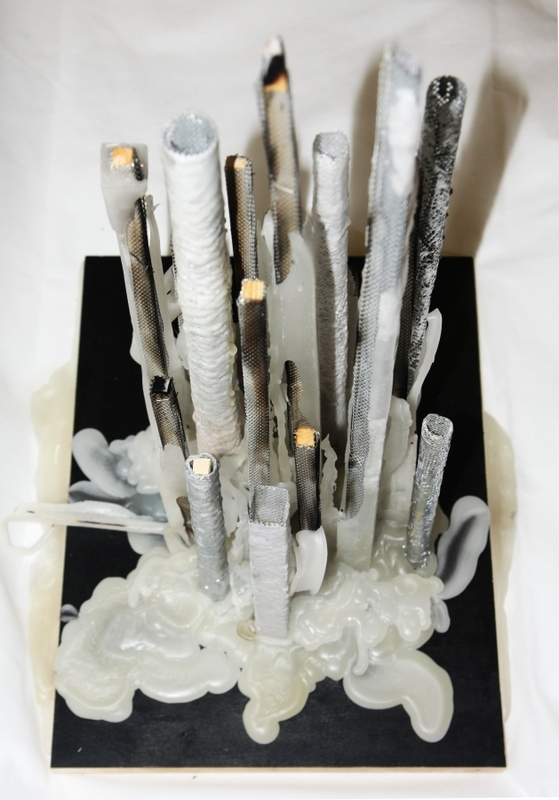
{210515 // final outputs- top view}
Posted 22 May 2015 12:40
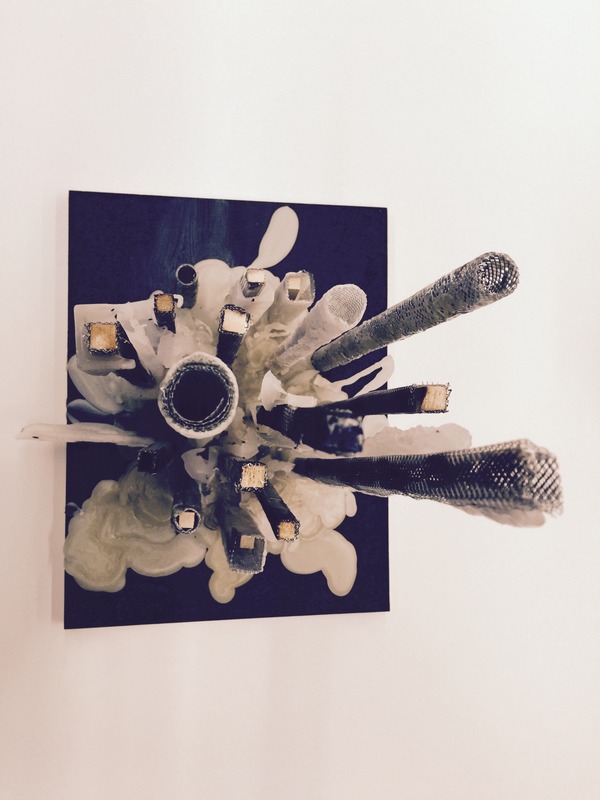
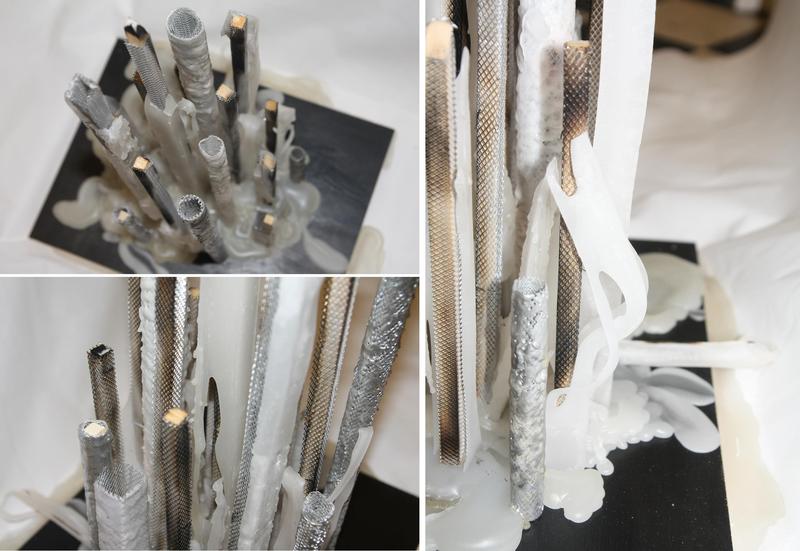
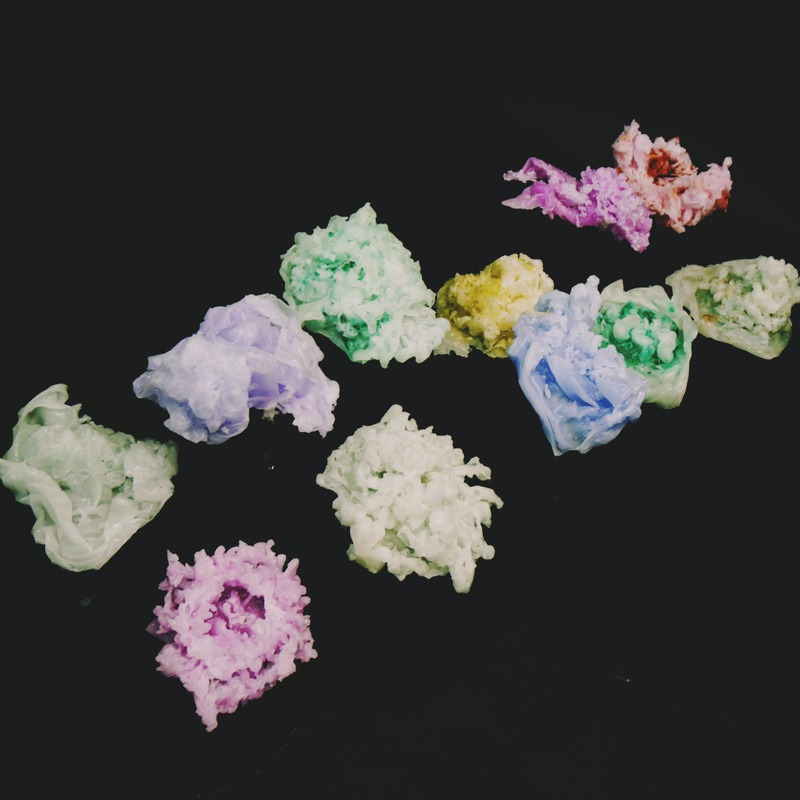
{210515 // final outputs}
Posted 22 May 2015 12:40
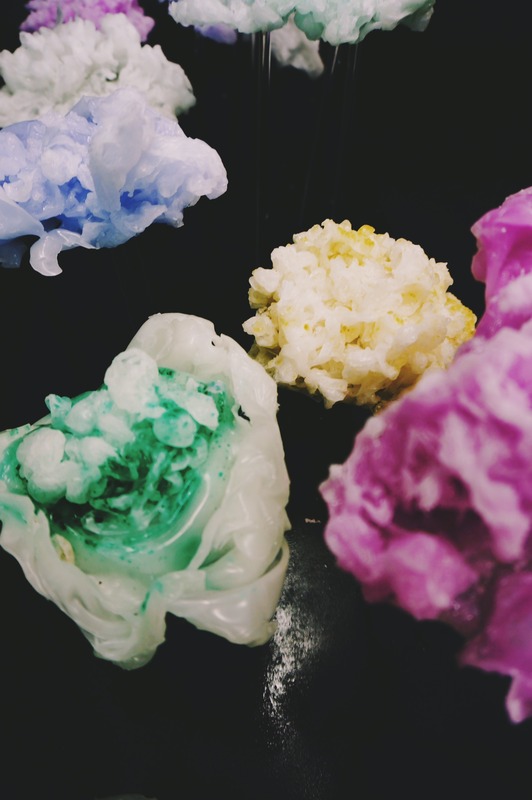
{210515 // final output- a close up of the details}
Posted 22 May 2015 12:39
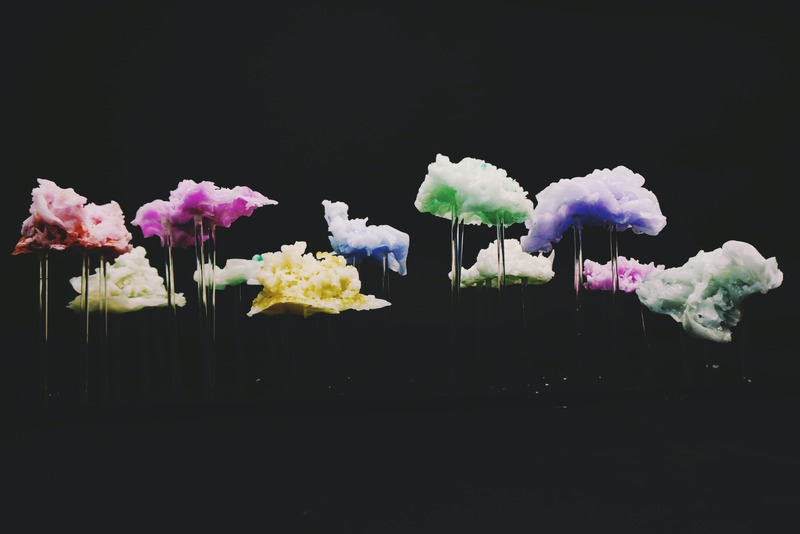
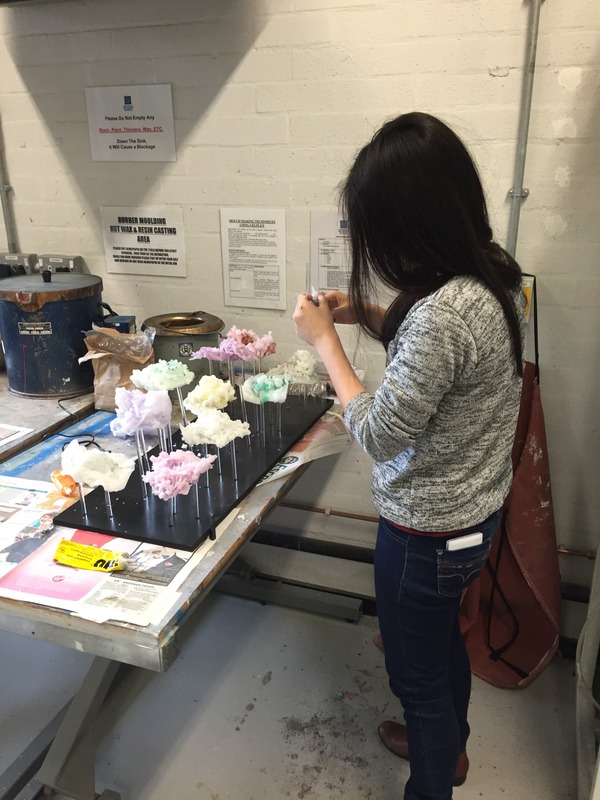
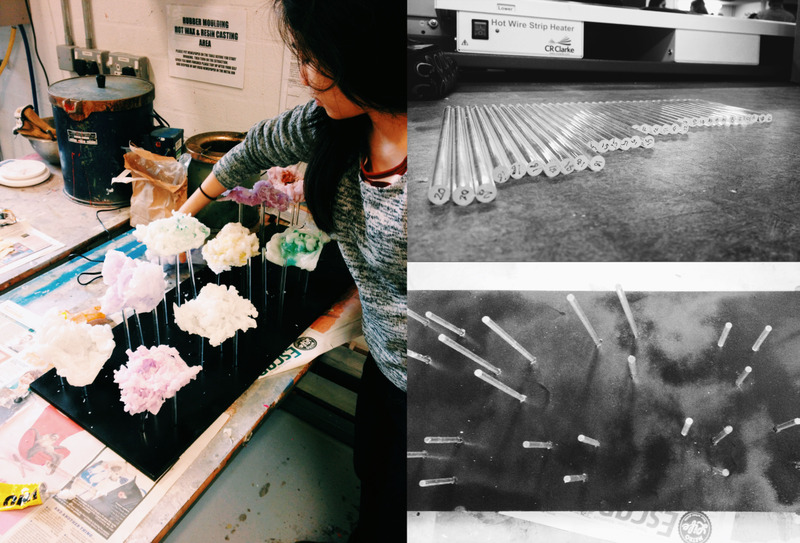
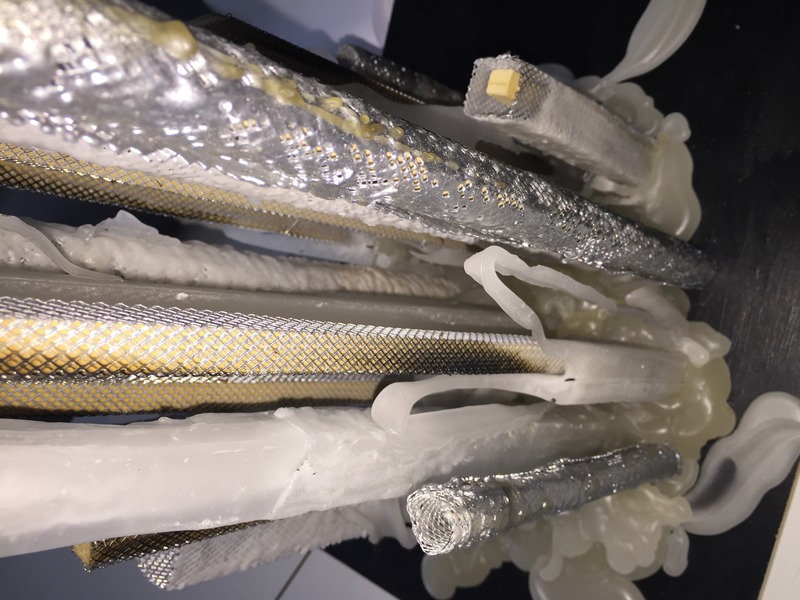
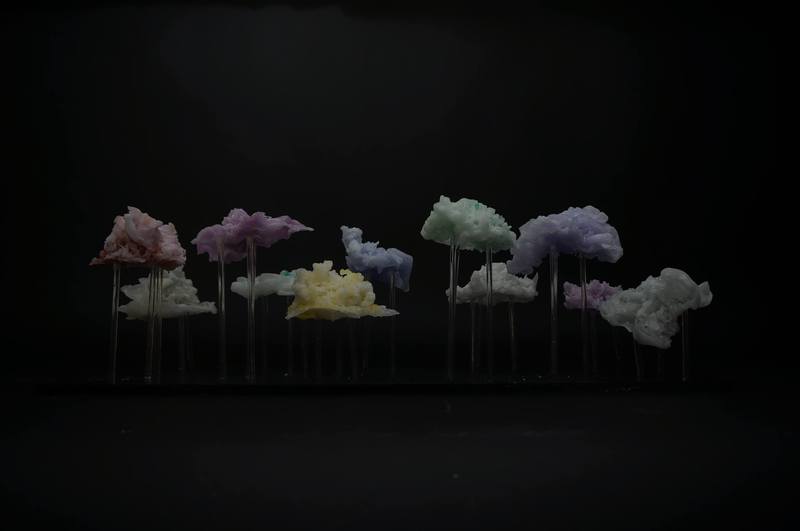
{210515 // final outputs- suspended wax on acrylic rods}
Posted 22 May 2015 12:39
{200515 // after creating the base we stick our initial models on creating somewhat a cloud pavilion}
Posted 22 May 2015 12:39
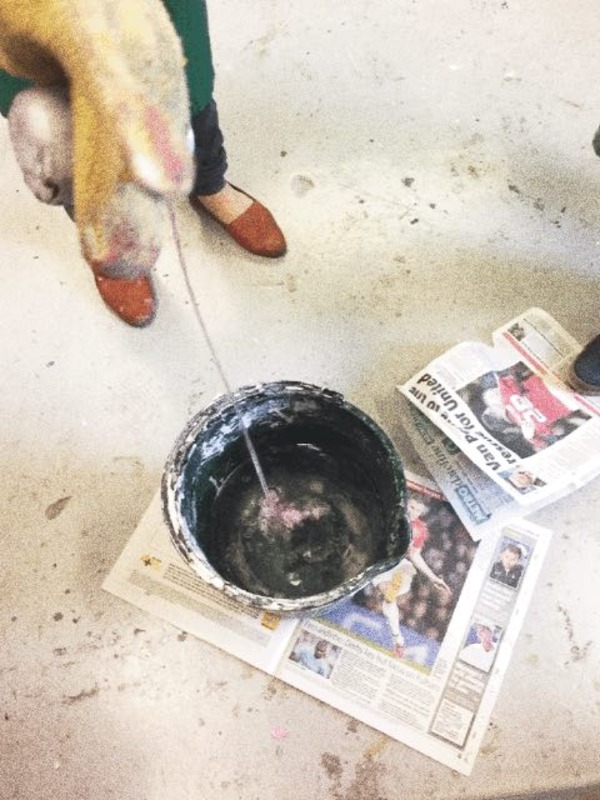
At the first session the first thing we had to do was to melt the wax. Melted wax was something that always fascinated me therefore the whole process was really fun for me rather than work.
Posted 22 May 2015 12:39
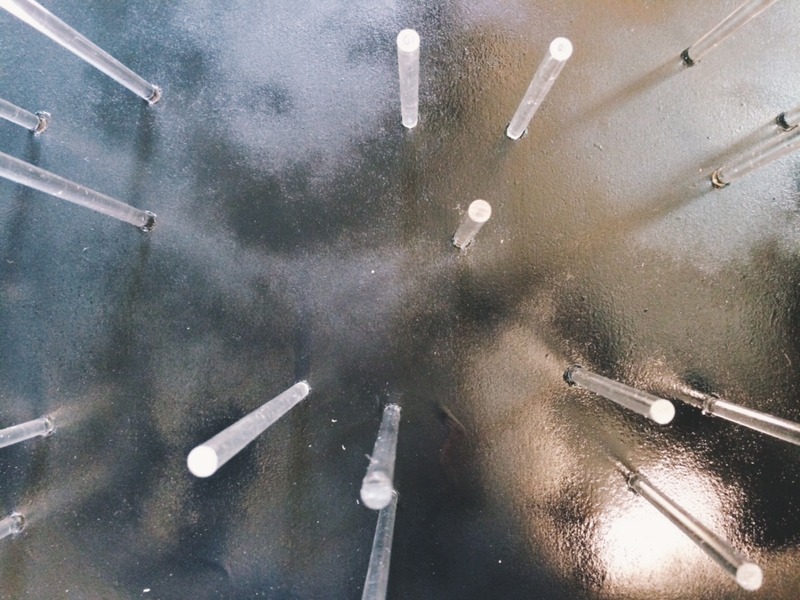
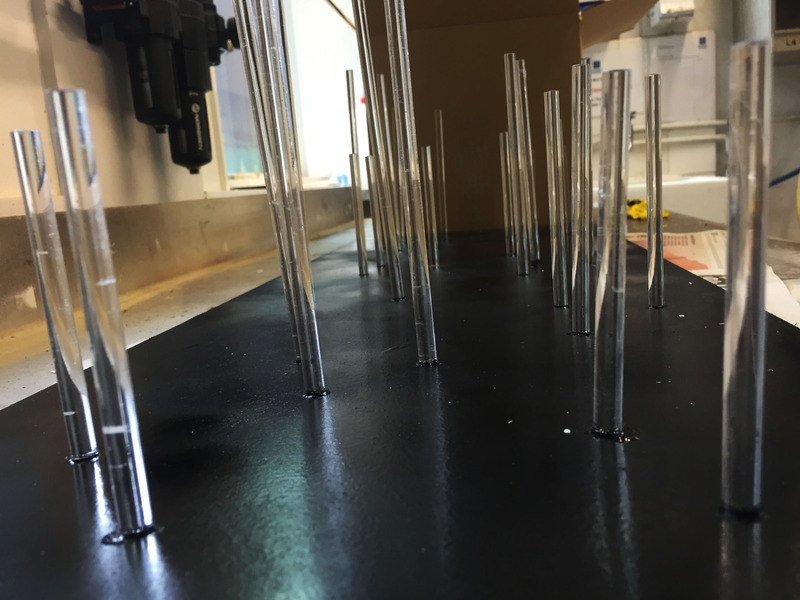
{190515 // since all of our experiments are tested with water immersion method, we then decided to float the wax by using acrylic rods to bring back the idea of how the wax floats on water}
Posted 22 May 2015 12:37
Final output with lighting behind Perspex to create a nice effect with wax
Posted 22 May 2015 12:19
Day 7 // Final Output
Posted 22 May 2015 11:55
Day 6 // Assembly. We then uses glue to place the wax on top of the rods.
Posted 22 May 2015 11:39
Day 6 // Assembly. Once all the components had been made we began to assemble them together. We did this by first puts the rods into the wooden board.
Posted 22 May 2015 11:38
Day 5 // Making. Once we had completed making the wax we had to create a base for the pieces to sit on. We went to workshop and cut up acrylic rods and stuck them into a wooden base which we had spray painted black .
Posted 22 May 2015 11:30
Day 4 // Making. These were some of the wax shapes that we made.
Posted 22 May 2015 11:25
Day 3 // Making. Once we had a clear idea we began to sculpt our pieces. We would melt about 100g of wax at a time and at a colour to it. We would then swirl the water in the bucket and then pour the wax into it from different heights.
Posted 22 May 2015 11:24
Final piece on Perspex before adding lighting. It includes wax pieces using different techniques.
Posted 22 May 2015 09:24
Day 4/ Pouring melting wax on wire mesh and wax pieces to connect them.
Posted 22 May 2015 09:22
Day 4/ Preparing wire mesh on clear Perspex for our final product.
Posted 22 May 2015 09:19
Day 3/ Connecting all wax pieces together by pouring hot wax on them.
Posted 22 May 2015 09:18
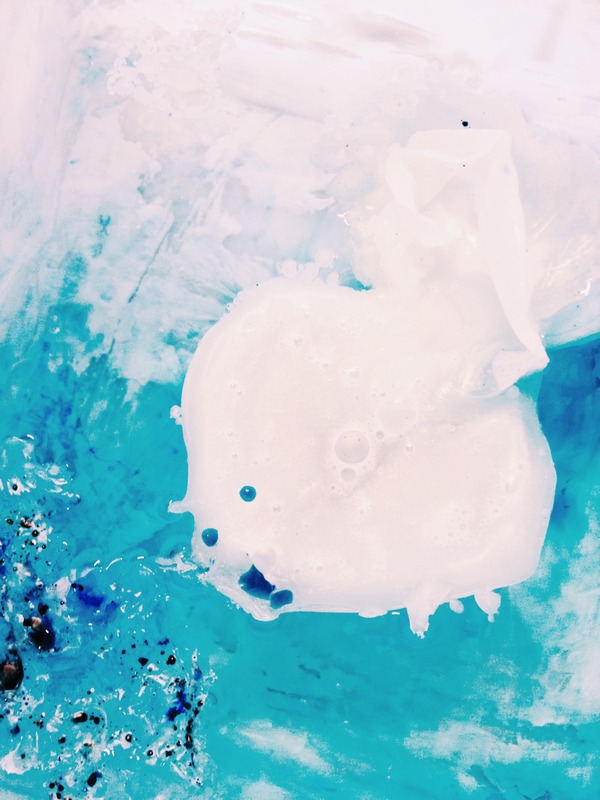
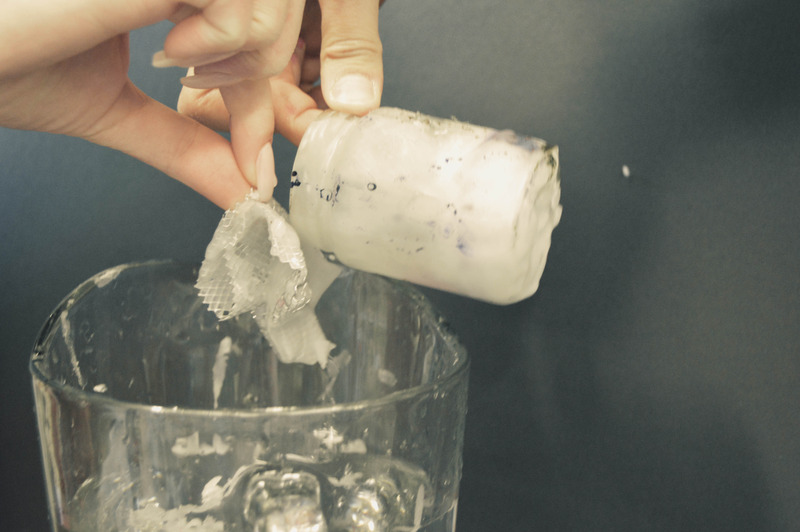
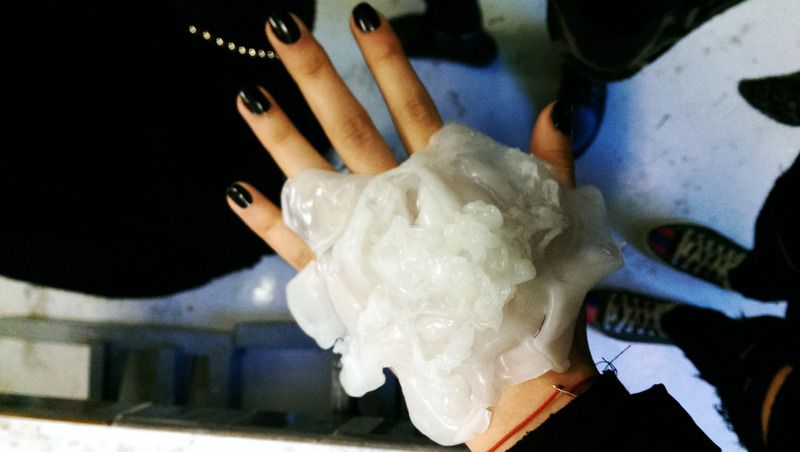
Day 2/ Experimental piece by pouring melting wax into cold water to get a natural look with texture.
Posted 22 May 2015 09:17
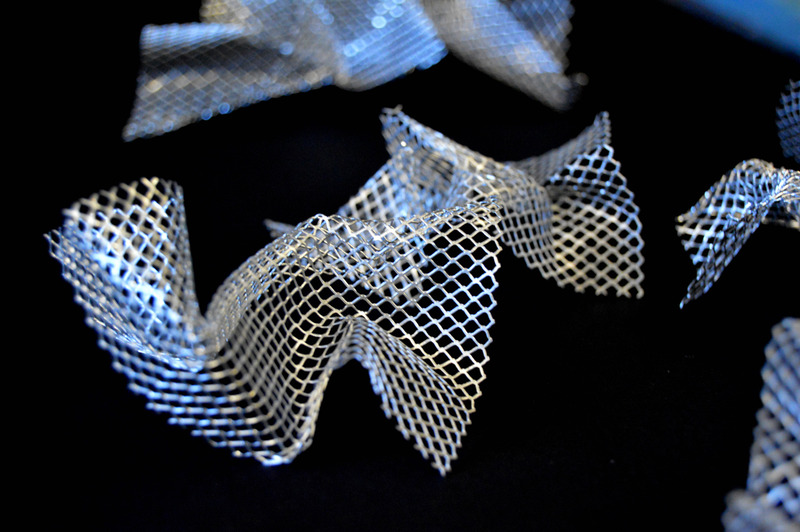
Day 2/ Experimental piece using wire mesh and nail polish to get some colour.
Posted 22 May 2015 09:14
Day 1/ Experimental piece using wire mesh
Posted 22 May 2015 09:11
Day 1/ Poured melting wax onto wire mesh shapes.
Posted 22 May 2015 09:11
Day 1/ Different shapes using wire mesh
Posted 22 May 2015 09:07
Day 1/ Folding wire mesh to create shapes.
Posted 22 May 2015 09:06
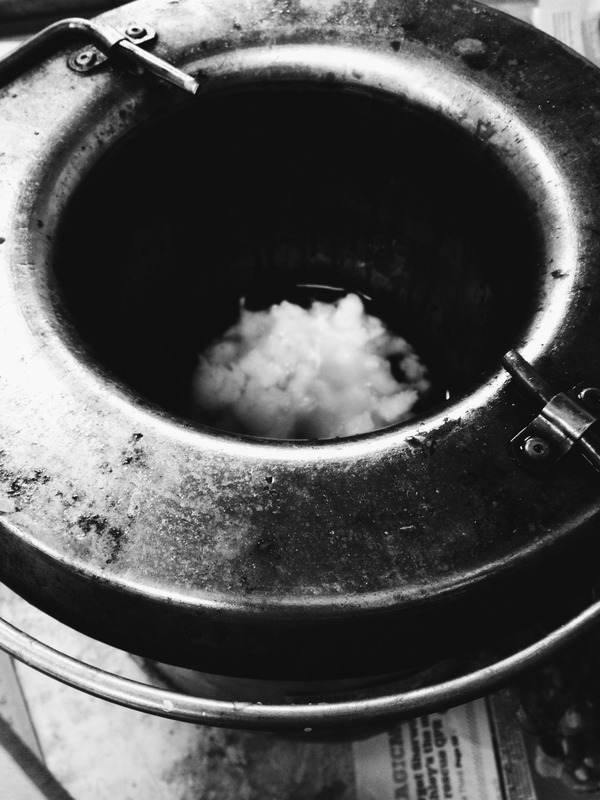
Day 1/ Start the session by melting microcrystalline wax.
Posted 22 May 2015 09:04
Introduction to wax melting process
Posted 22 May 2015 09:02
20/5/2015
process of the final model.
Posted 22 May 2015 06:24
19/5/2015
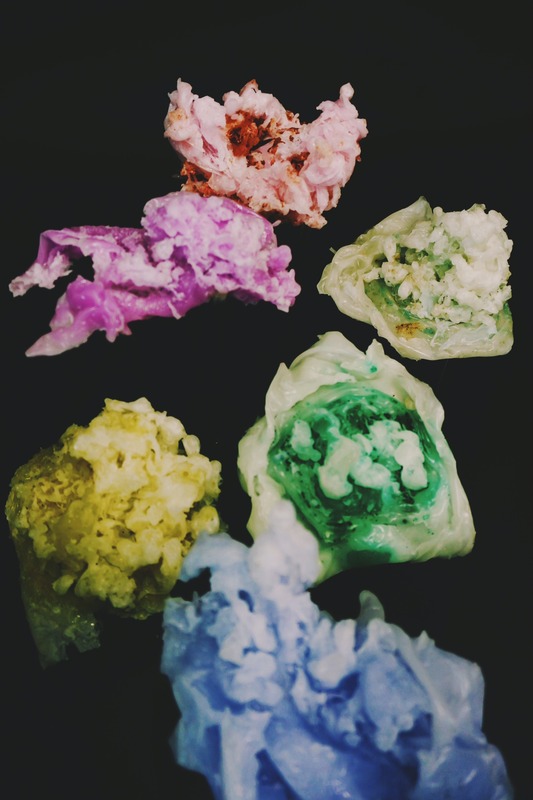
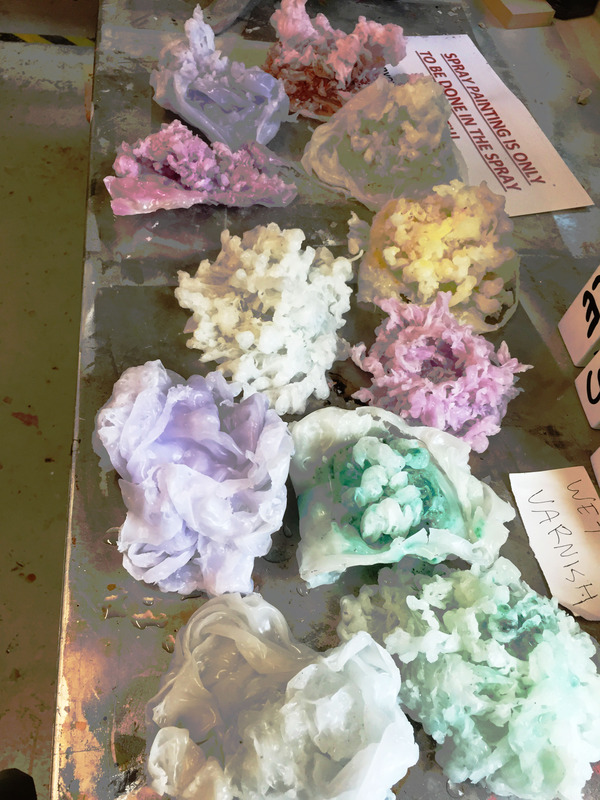
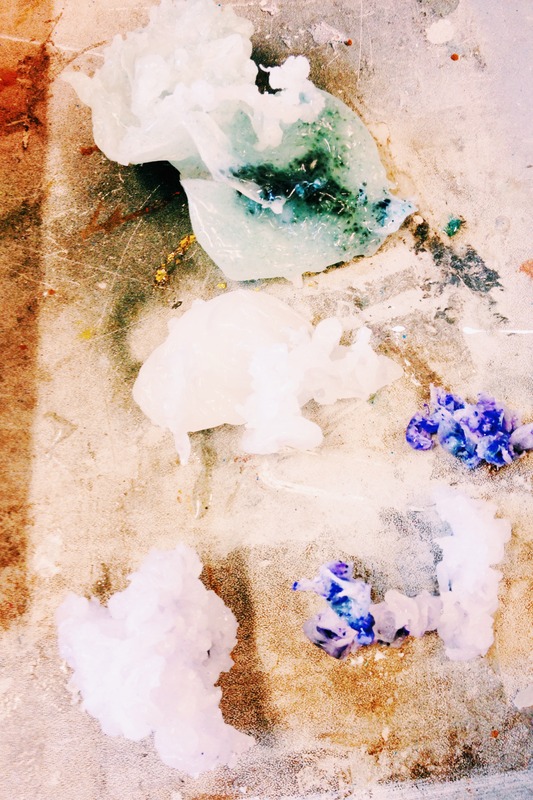
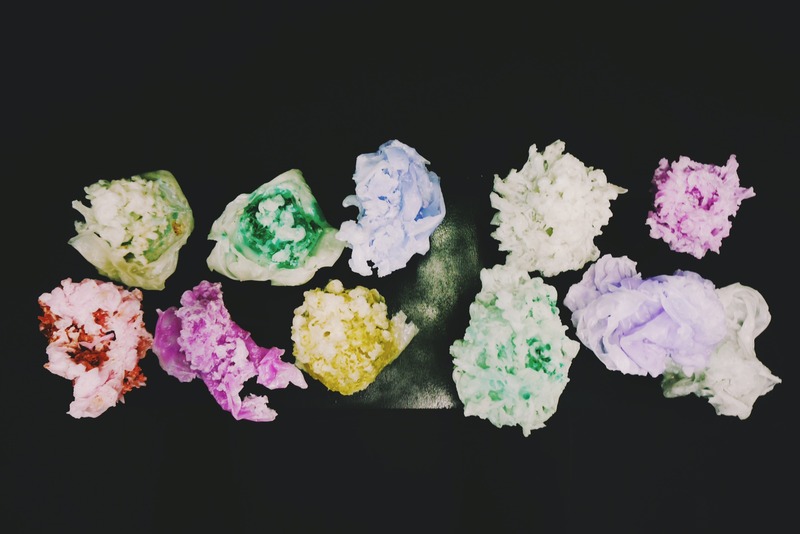
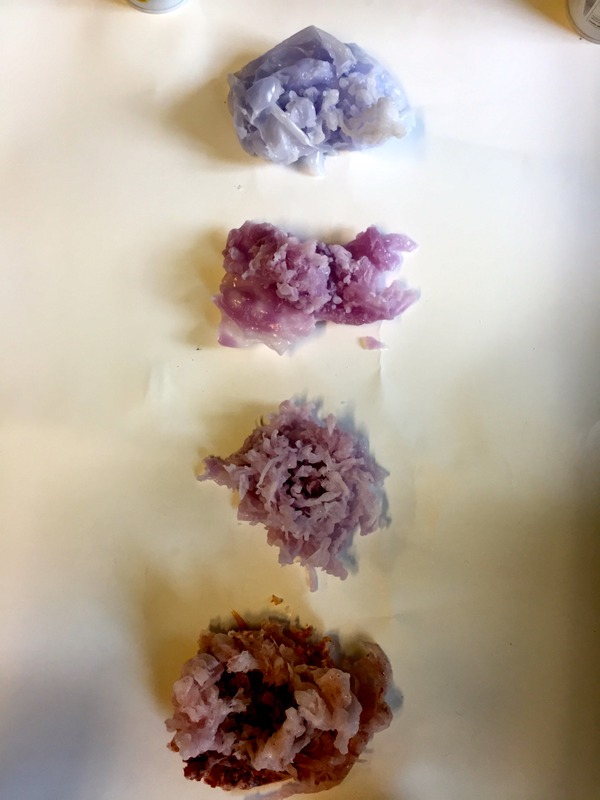
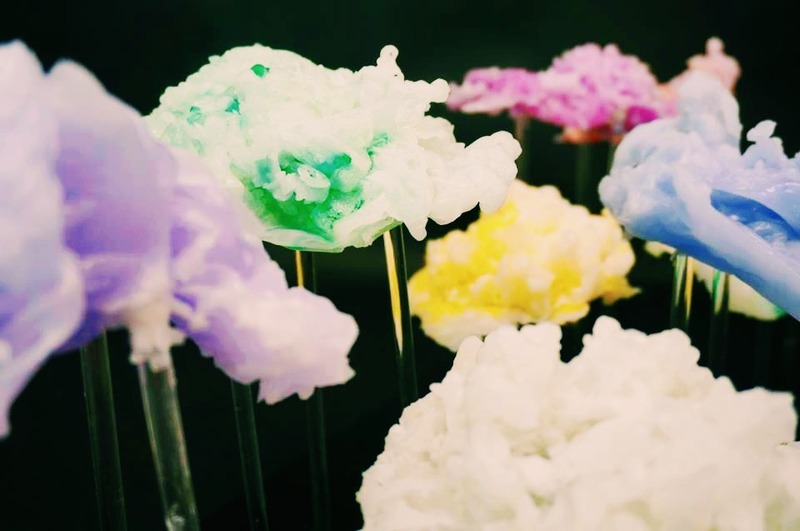
different shape and color
Posted 22 May 2015 06:23
19/5/2015
big piece of wax for the final and made concept with group mate.
Posted 22 May 2015 06:15
14/5/2015
workshop session two,
remelted the wax made the color mix better.
tried to do bigger piece.
Posted 22 May 2015 06:11
13/5/2015
workshop session one
thats what we made, color mixed in.
Posted 22 May 2015 06:05
13/5/2015
workshop session one - experimental
we tried to add color in the water
we found out the color didn't mix with the wax is this way.
Posted 22 May 2015 05:59
12/5/2015
introduction workshop, the first time to use melting pot and played around wax
Posted 22 May 2015 05:52
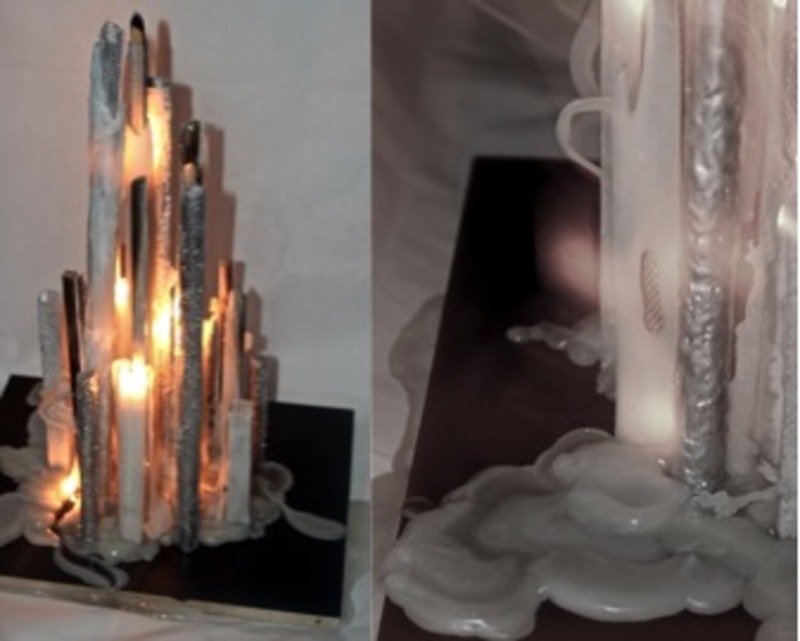
These are some photographs of the sculpture during the melting process. On the left it could be seen how the flames have deformed some buildings. The photograph on the right is of an organic shape, formed on the base from accumulated melted wax.
Posted 22 May 2015 01:35
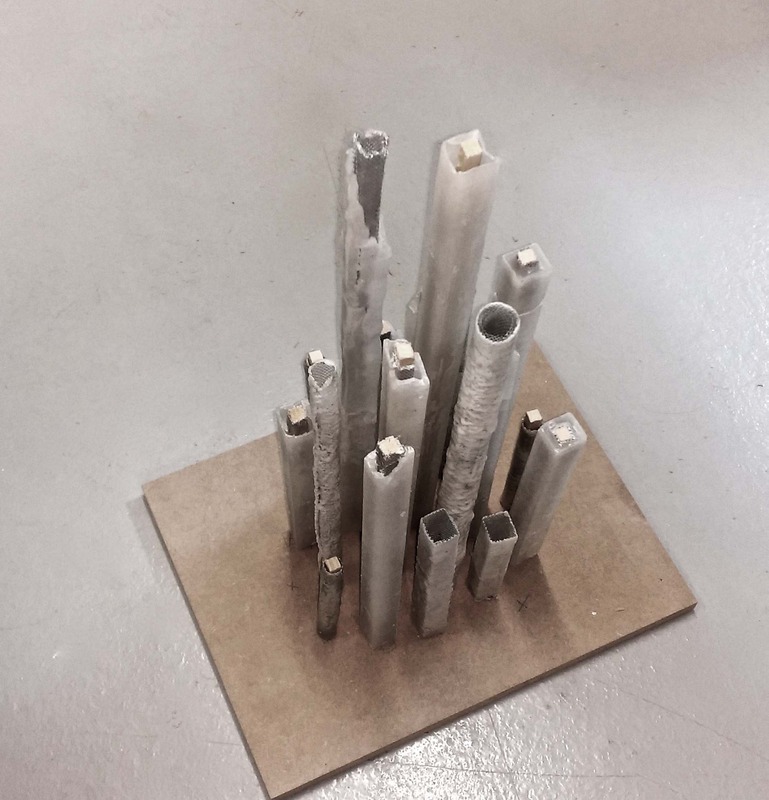
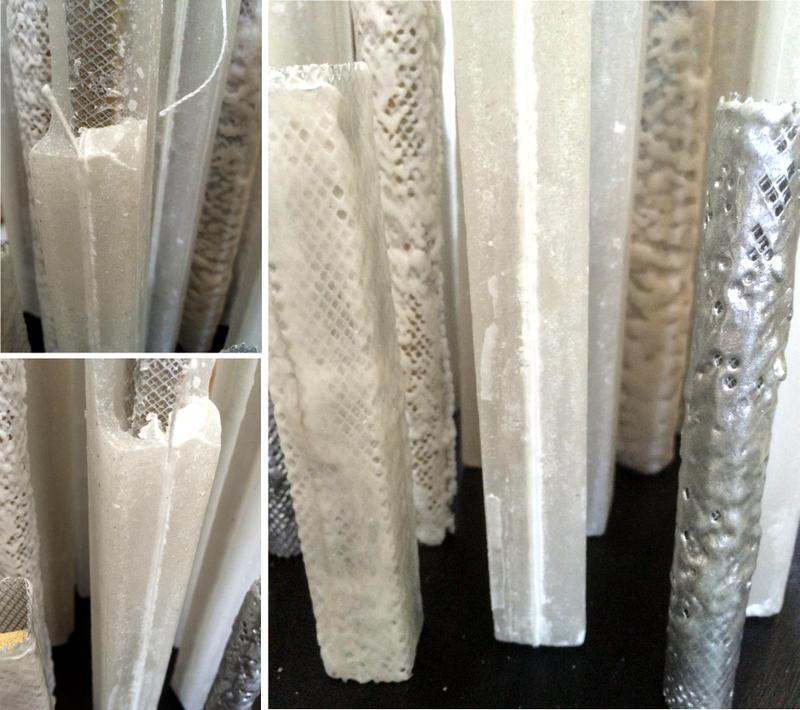
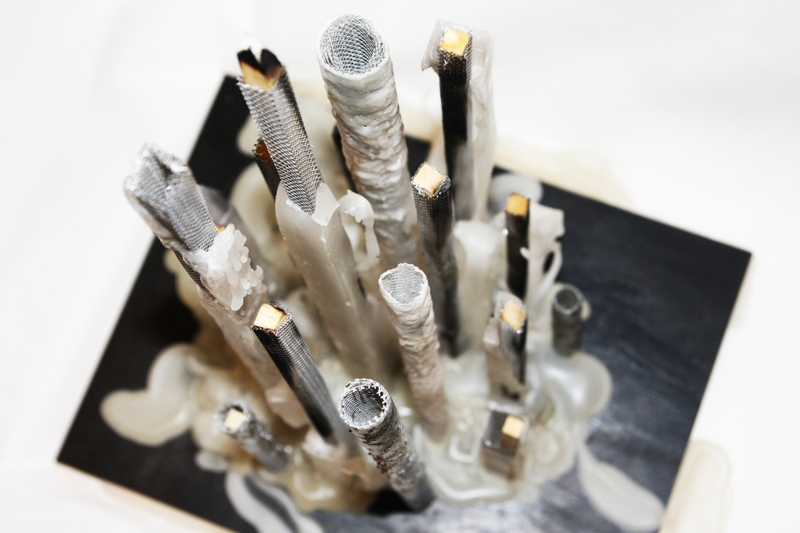
The photographs above show our final sculpture before it has been melted. To finalise its look we spray-painted some of the wax buildings silver and painted the base black.
Posted 22 May 2015 01:28
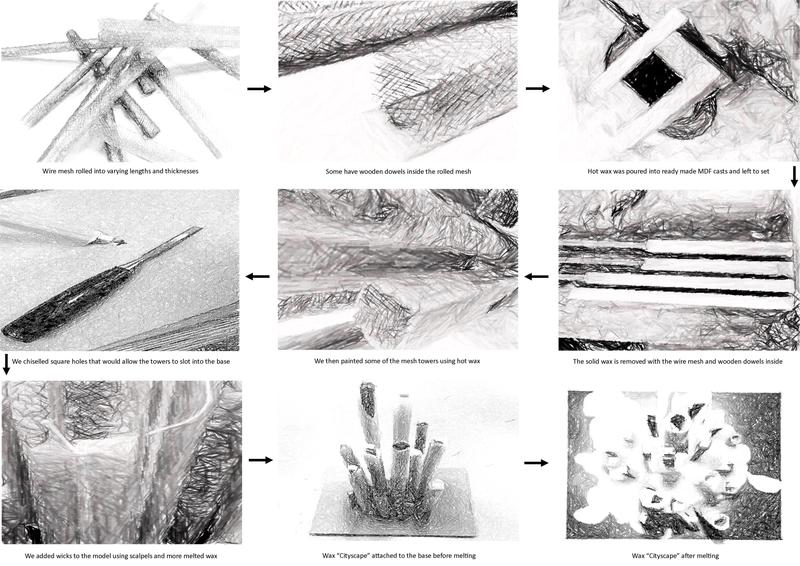
The final part of our project involved melting the wax city, therefore we fit wicks into some of the sides of all the cast wax buildings.
Posted 22 May 2015 01:22
Having finished the wax buildings we made a square base for them using MDF. As there is a wooden rod running through the buildings we decided to slot them onto the base. In order to do this we had to drill holes in the MDF and then chisel them into square shapes. Photograph above shows all the buildings fitted onto the base.
Posted 22 May 2015 01:14
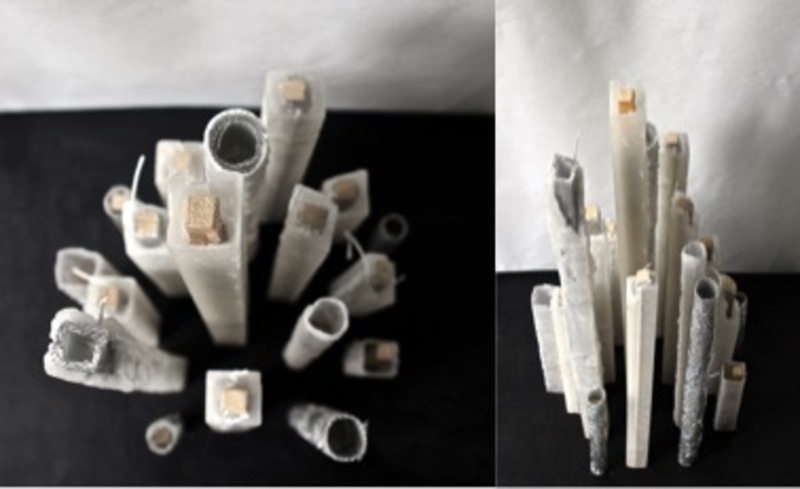
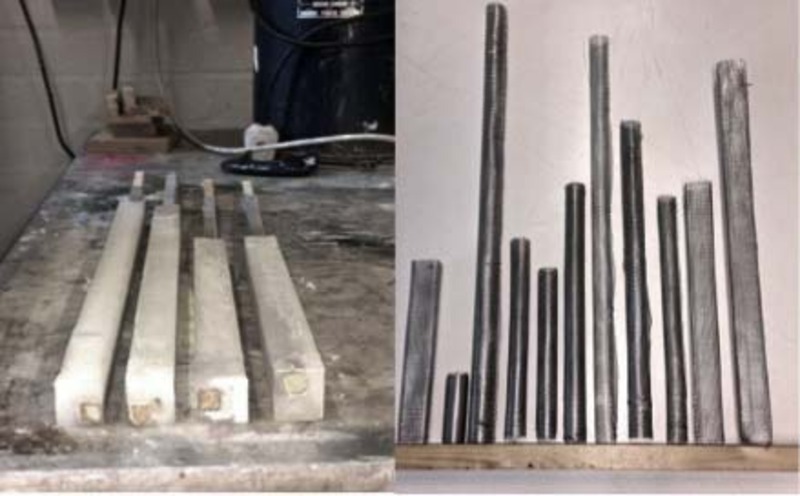
Some of the final building casts we did could be seen in the left photograph and on the right are the 'skeletons' of the painted on wax models. The casts took a much longer time, as we built five moulds we had to do the casts over two days to get more buildings.
Posted 22 May 2015 01:05
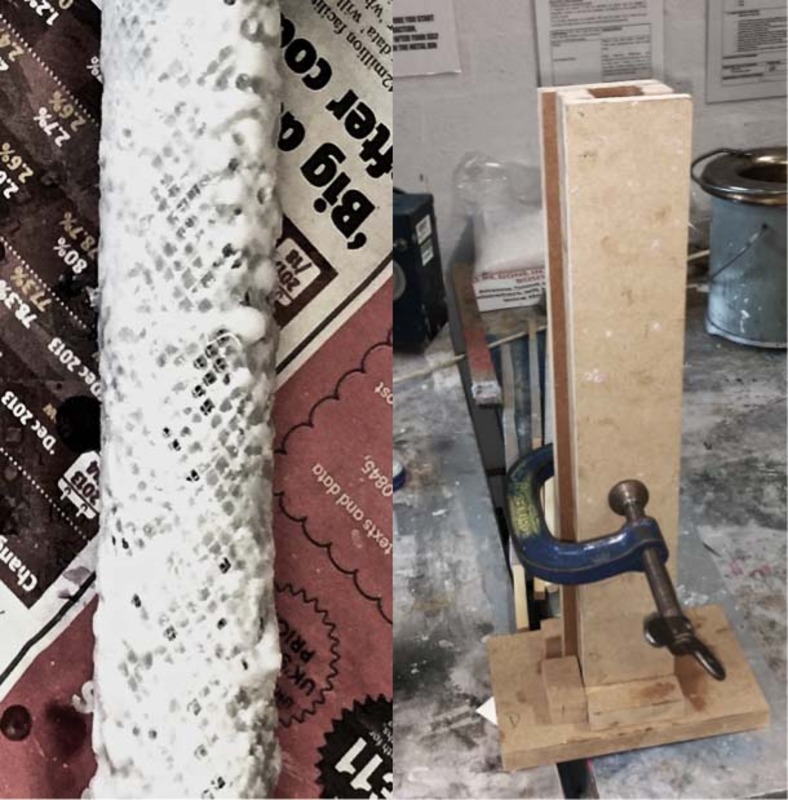
The first few days of events we spent experimenting with wax, this gave us a chance to learn different wax manipulation techniques as well as some of its characteristics. The photograph on the left shows a roll of wire mesh that has been coated in wax using a brush. Adjacent photograph is of the first wax cast we did. In the end it was decided for both techniques to be used for the skyscraper models.
Posted 22 May 2015 00:56
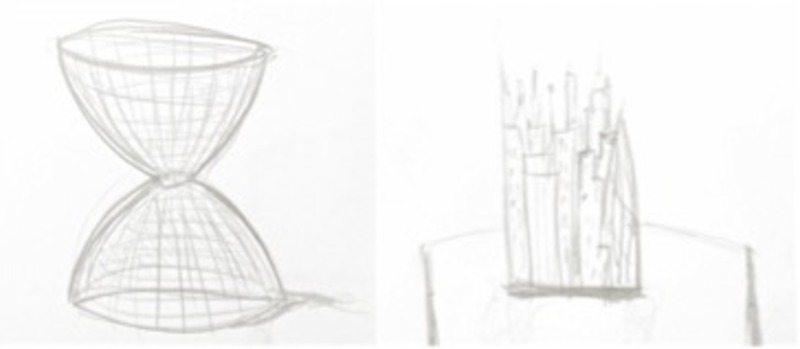
These are some initial concept drawings. Illustration to the left is a personal concept showing a wire mesh sculpture coated in wax. The illustration to the right is my take on the idea the group came up with. It shows a city made of wax sky scrapers that would in addition melt and drip into a water basin, creating organic shapes.
Posted 22 May 2015 00:46
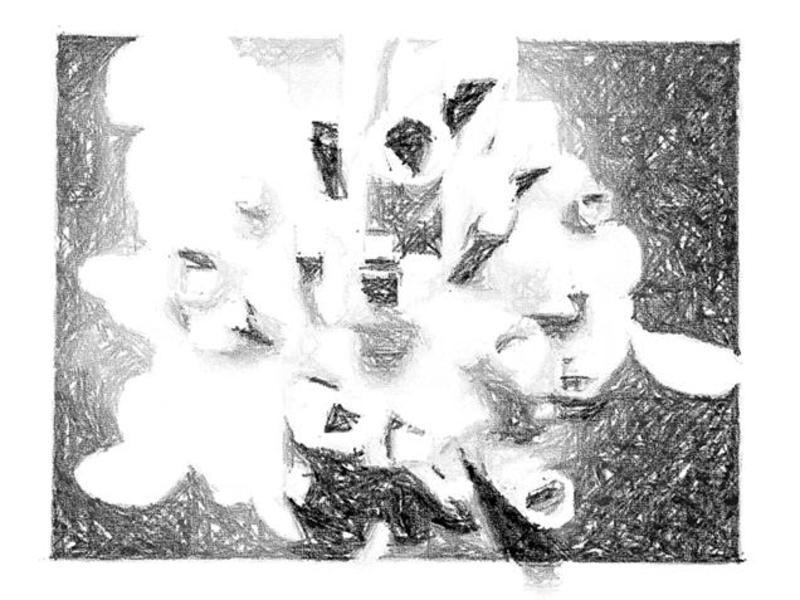
Three images that show the wax model after it had melted.
Here you can see the intricate shapes and structures that were formed when we let the model melt slowly.
Posted 22 May 2015 00:11
Many of the 'towers' collapsed dramatically, leaving some incredible forms
Posted 21 May 2015 23:31
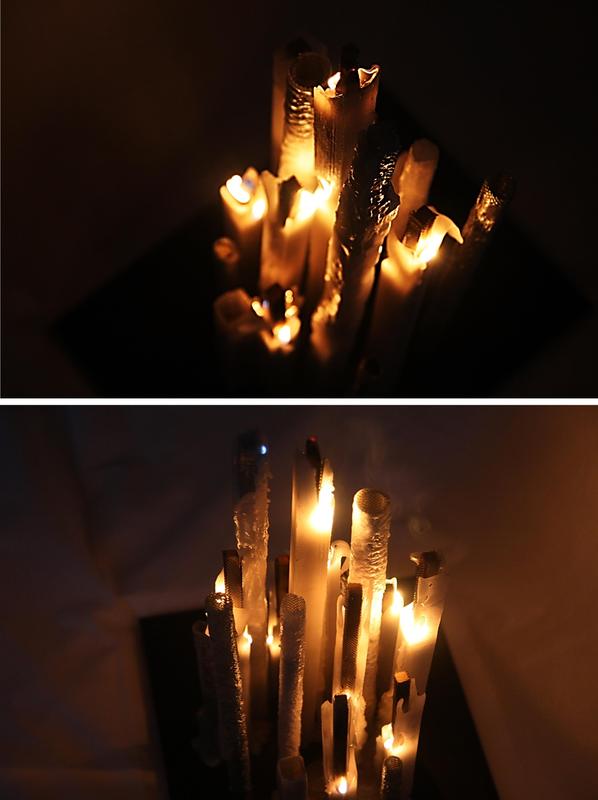
Final sculpture after burning the wicks. The solid wax 'towers' acted as huge candles, with wax pooling onto the base
Posted 21 May 2015 23:29
Sketch of the cityscape after it has melted.
Posted 21 May 2015 23:22
Pictures of the wax cityscape, this time bicycle lights have been used to create shadows.
Posted 21 May 2015 23:17
Pictures of the wax cityscape while burning.
Posted 21 May 2015 23:16
Series of quick sketches showing the making process.
Posted 21 May 2015 23:01
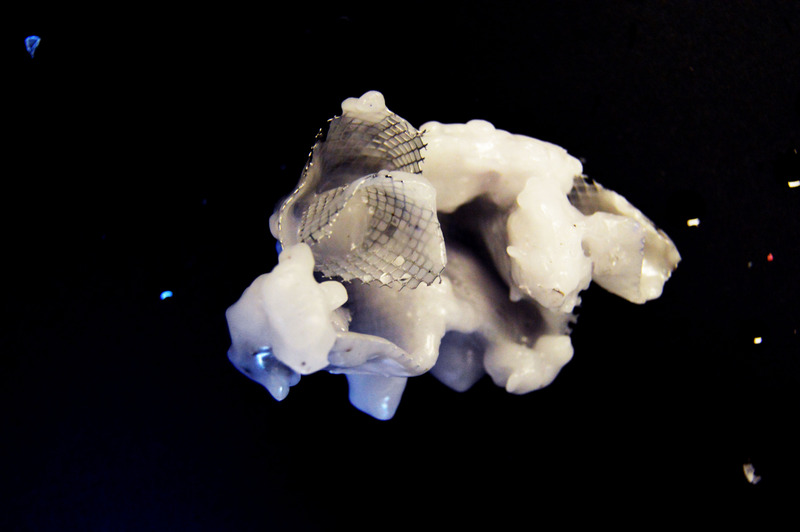
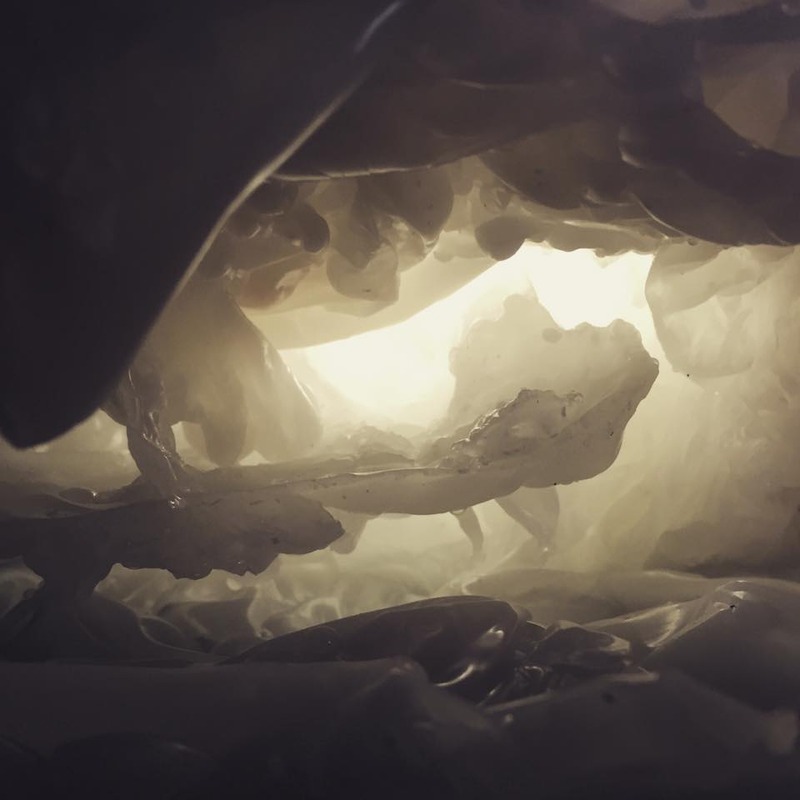
An interior shot of the final structure, created from multiple layers of wax poured on top of one another
Posted 21 May 2015 19:56
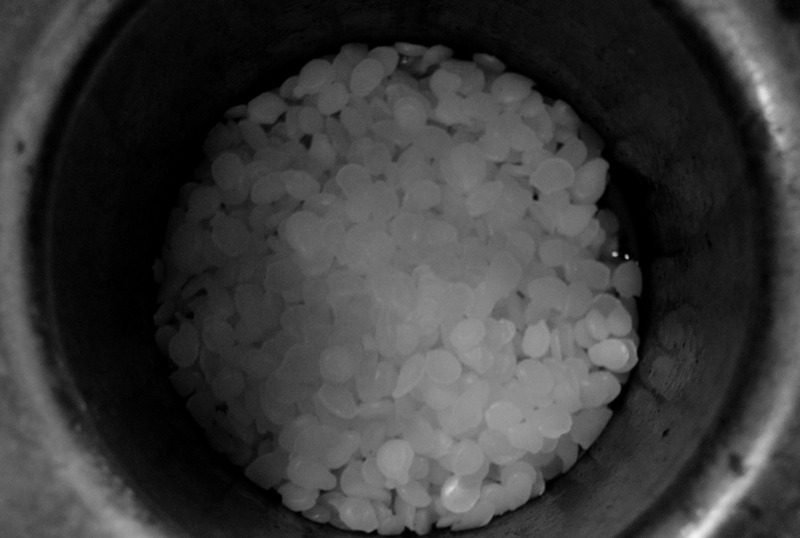
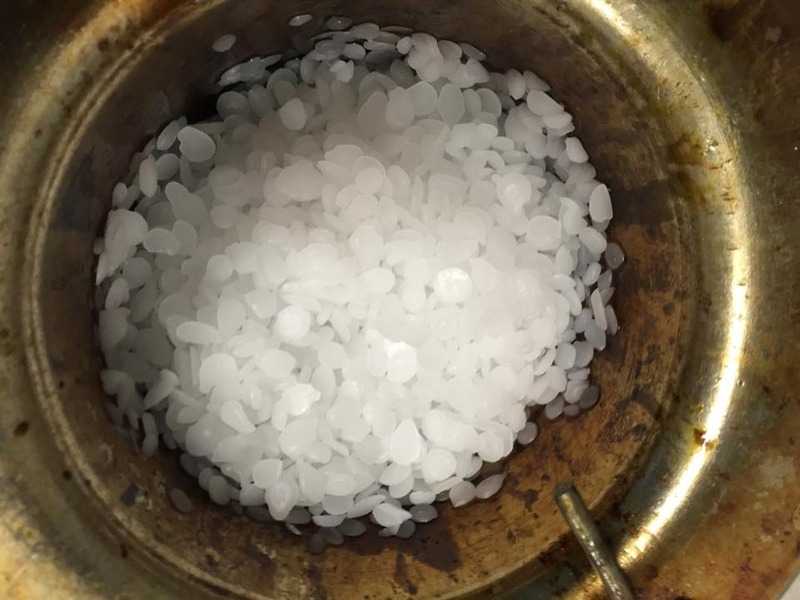
All the wax was melted with the use of a heated crucible. The original pellet form of the wax can be seen here
Posted 21 May 2015 19:54
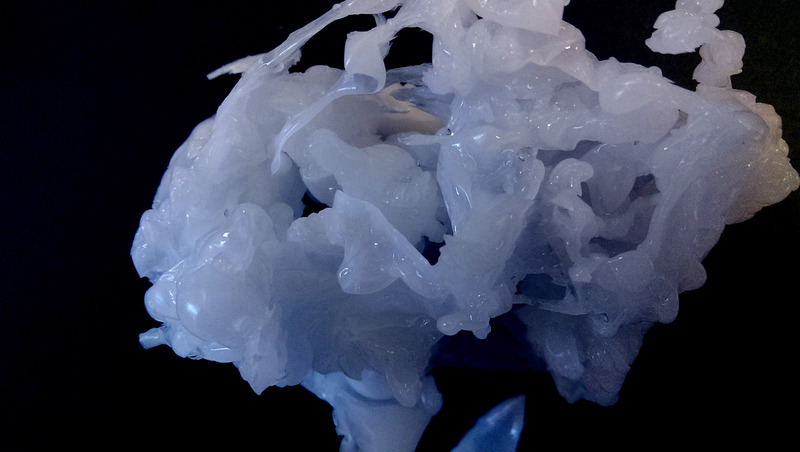
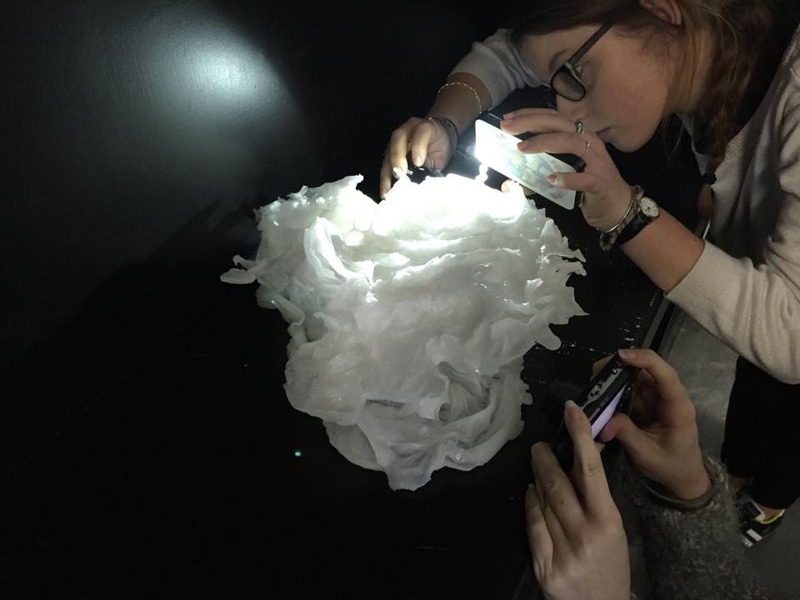
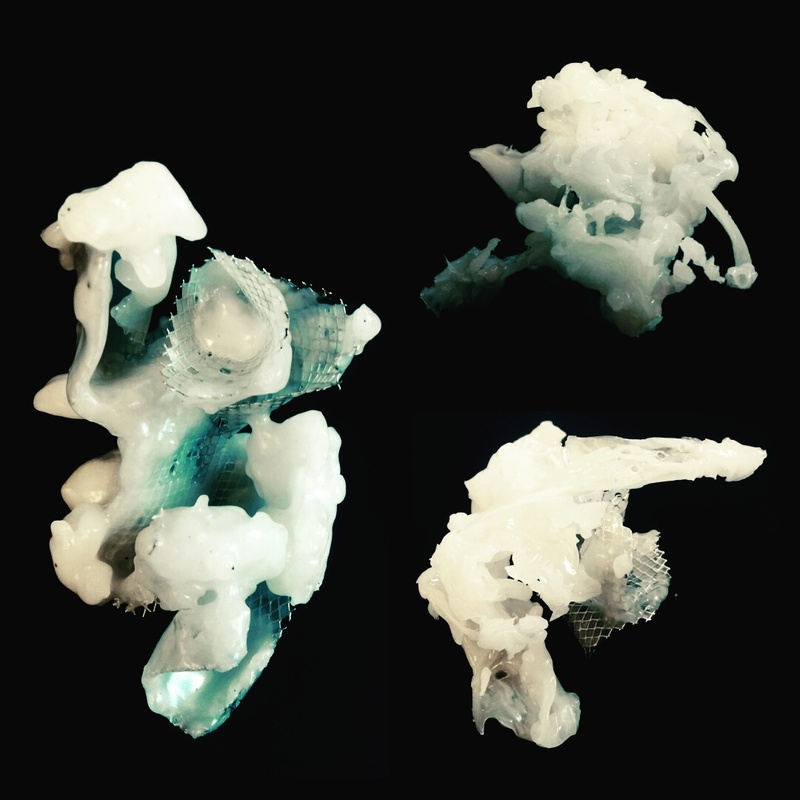
The wax forms were photographed, lights were used at a variety of angles to help show different details within the wax, as well as show the translucent properties the wax
Posted 21 May 2015 19:52
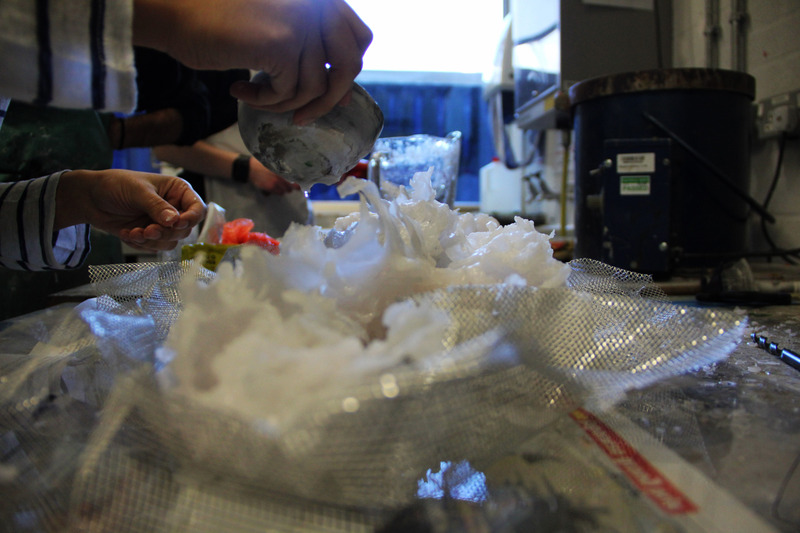
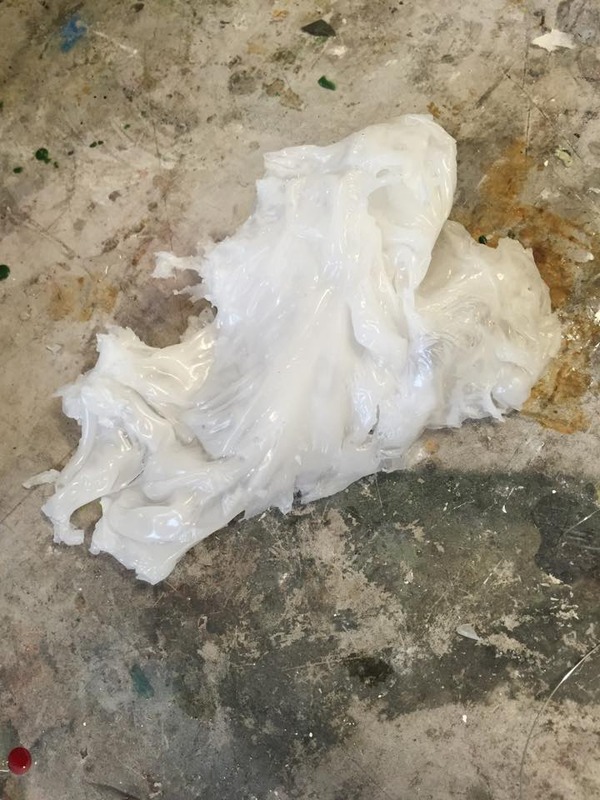
After creating the hanging wax forms, they were melted back down in order to create more forms, this time focusing on creating thin, waving sheet type structures. These were created by pouring the wax slowly on top of the water
Posted 21 May 2015 19:49
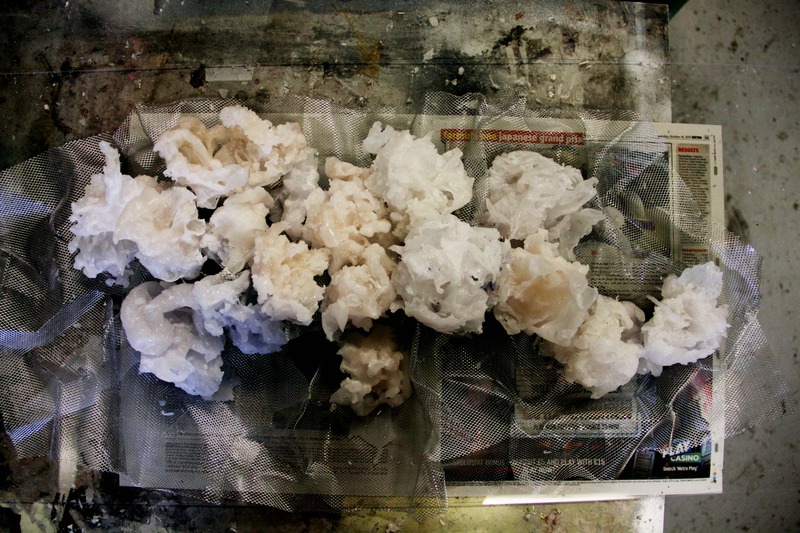
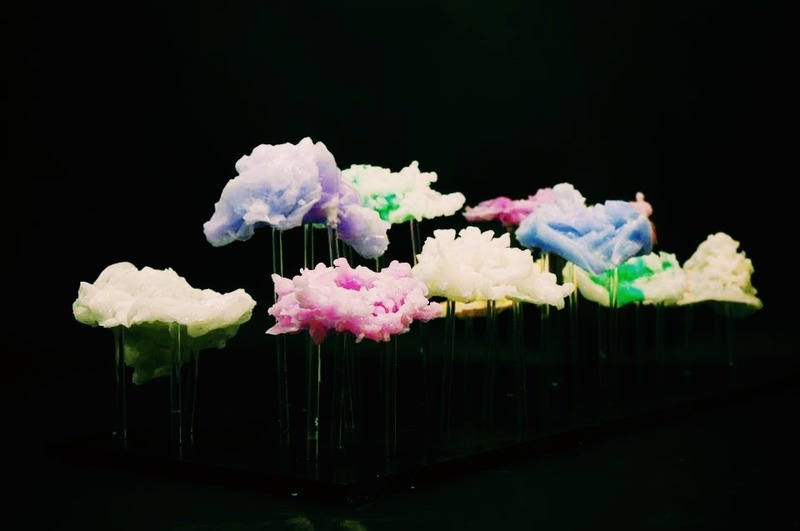
Final Installation 21/05/15 - Close up of our 'floating' wax forms
Posted 21 May 2015 19:16
Final Installation 21/05/15 - Using the photography studio to take photos of the final model
Posted 21 May 2015 19:15
Modelling Process 20/05/15 - Using the wood workshop to create a base structure to showcase our wax forms. Later on using the chemical workshop to spray paint the base black and stick our forms to the acrylic rods using more wax
Posted 21 May 2015 19:12
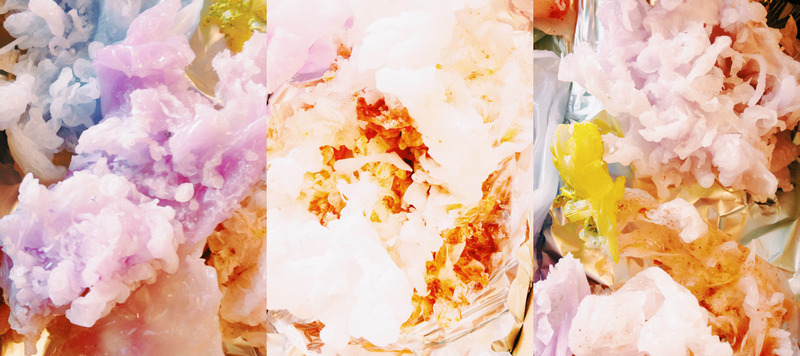
Chemical Workshop 14/05/15 - More wax forms in different colours created using the water emersion technique
Posted 21 May 2015 18:59
Chemical Workshop 14/05/15 - Experimenting with foil to create a mould and using spray paint to change the colour of the wax
Posted 21 May 2015 18:51
Chemical Workshop 13/05/15 - Final wax form of the day made by remelting all the smaller, weaker ones made previously and poured directly from the melting pot.
Posted 21 May 2015 18:40
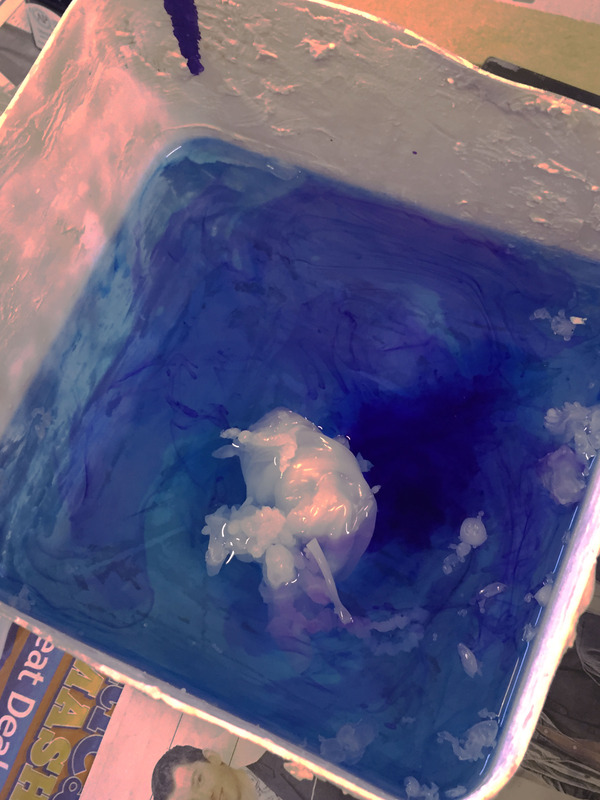
Chemical Workshop 13/05/15 - By adding the ink in with the melted wax holds the colour when poured into the water.
Posted 21 May 2015 18:38
Chemical Workshop 13/05/15 - First attempt at trying to use colour by dropping ink into the water and pouring wax on top.
Posted 21 May 2015 18:33
Chemical Workshop 13/05/15 - First day using the melting pot in the workshop
Posted 21 May 2015 18:30
Wax Induction 12/05/15 - test wax forms made by the fifth years in our induction
Posted 21 May 2015 18:28
Using scalpels we created tracks travelling down some of towers. We then pushed a wick into the gap and then covered it with hot wax using a small brush. This will allow us to melt the wax towers down in a controlled fashion.
Posted 21 May 2015 17:53