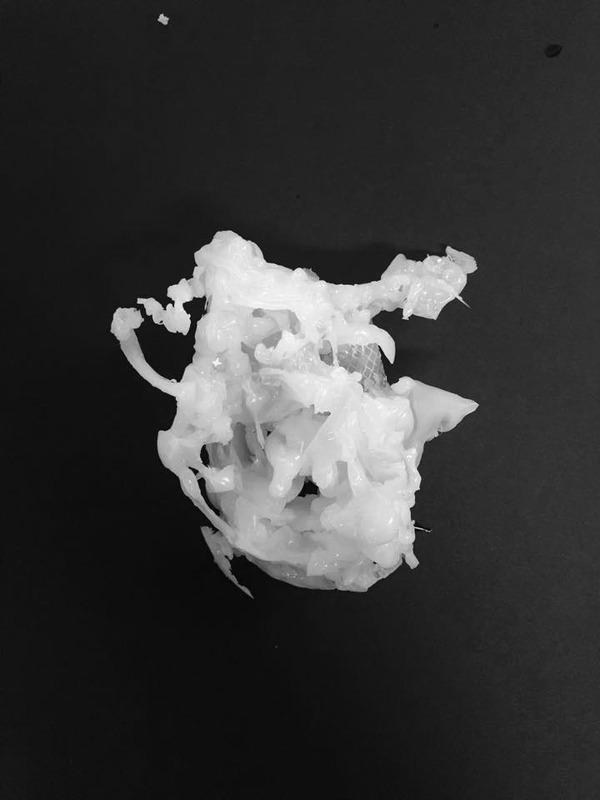
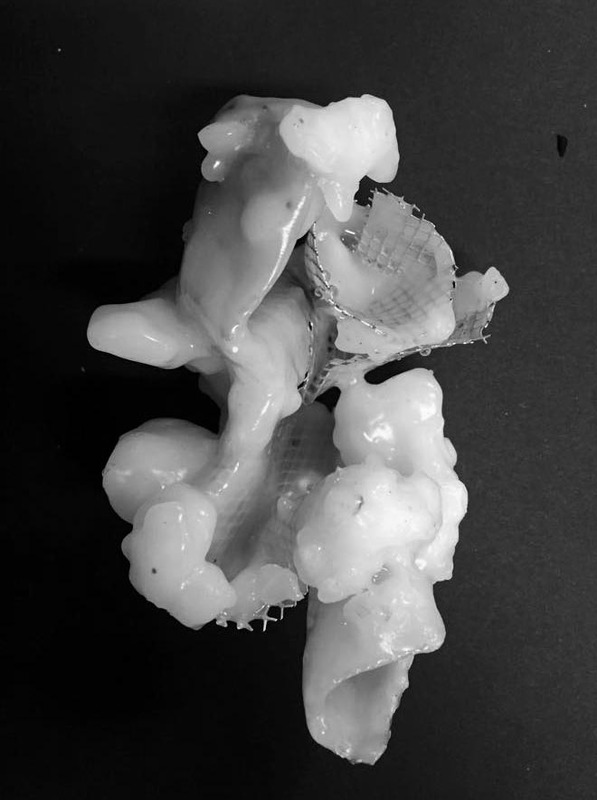
One of the free-form wax models.
Posted 22 May 2015 13:12
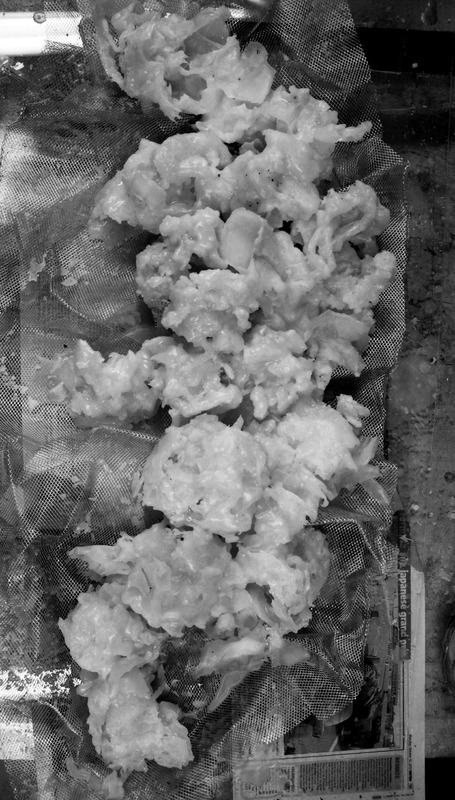
Final piece at the final stages of the process.
Posted 22 May 2015 13:10
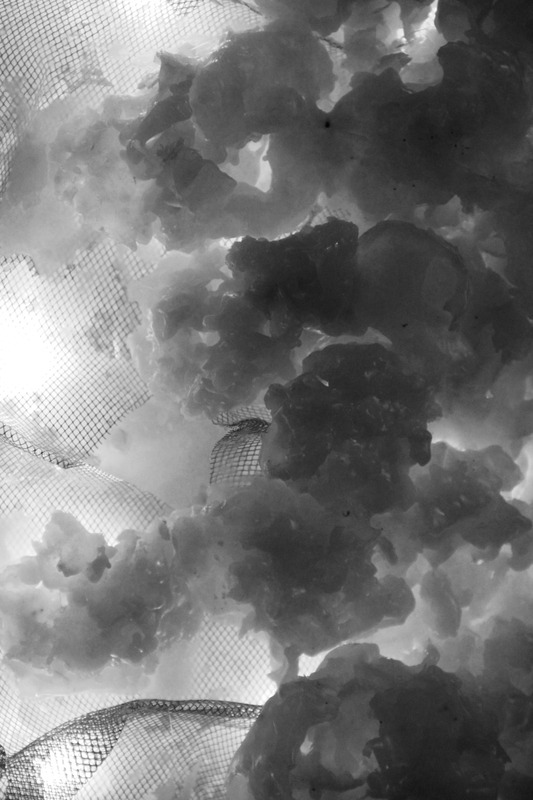
Final piece | close up
Posted 22 May 2015 13:08
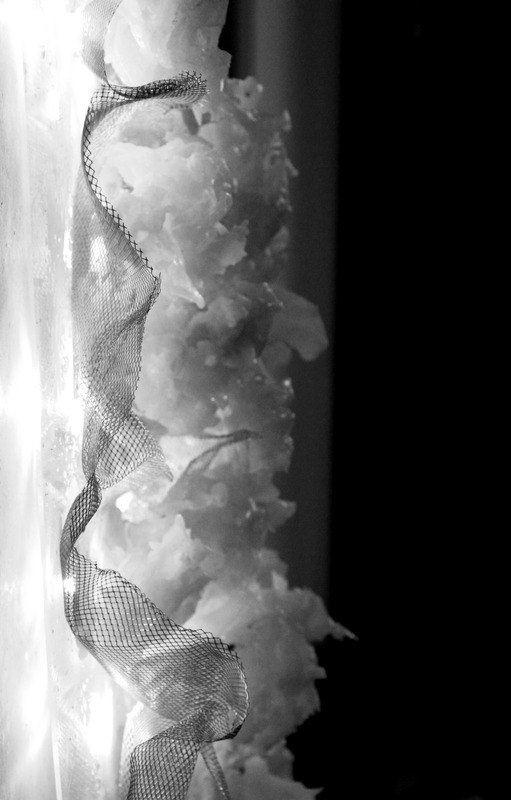
Final piece | side view
Posted 22 May 2015 13:06
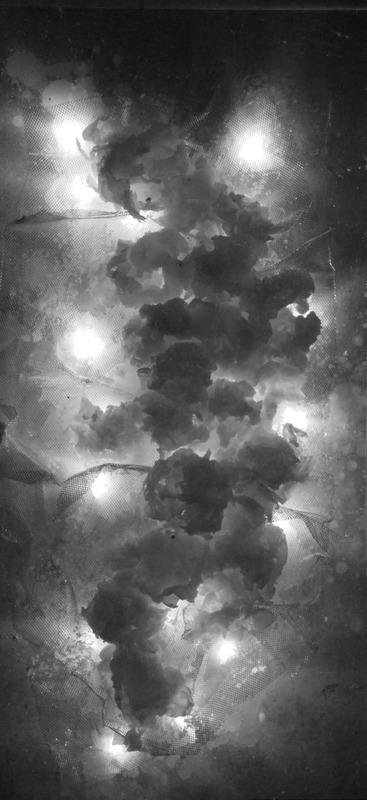
The final piece with the lights which created a really nice effect as it revealed all the shadows of the wax forms.
Posted 22 May 2015 13:03
To connect all the wax models with the base we used hot wax several times in order to create layers to make it more stable.
The final step was to add lights behind the perspex plate to create a nice effect.
Posted 22 May 2015 12:52
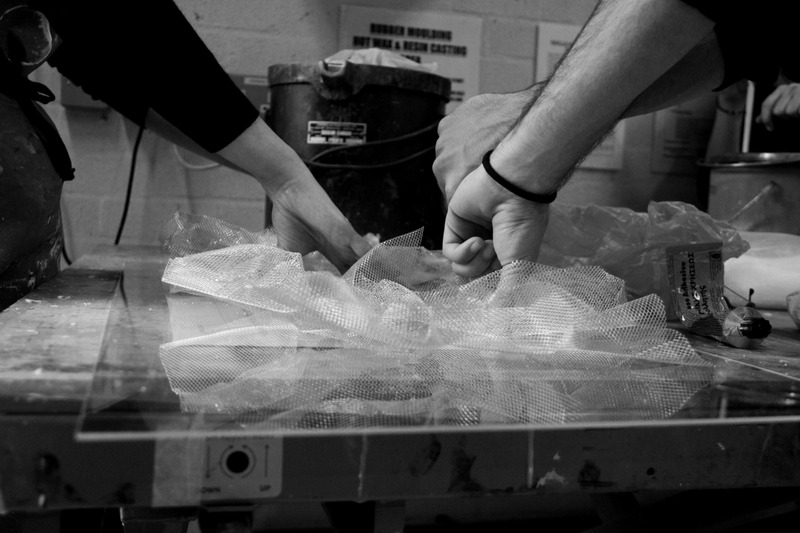
After we have finished all the wax models we used perspex plate as a base and placed folded wire mesh onto it to add texture and volume. The next step was to place all the wax models to the base.
Posted 22 May 2015 12:48
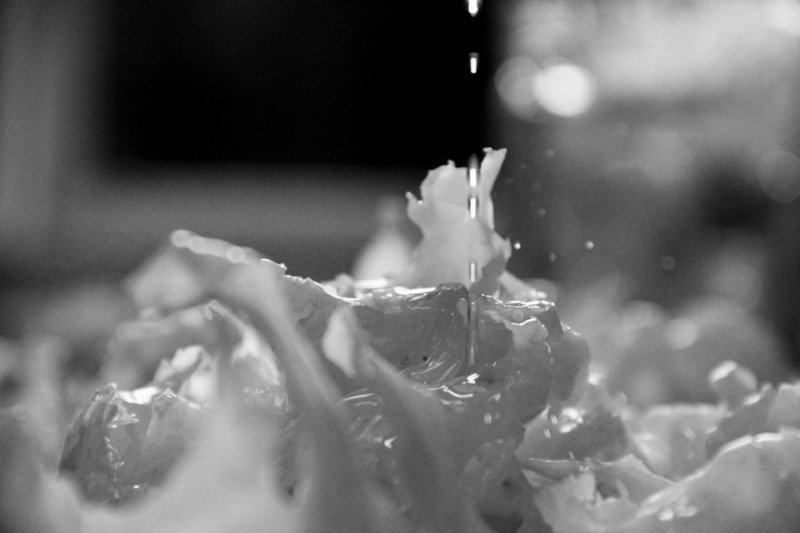
After several attempts the result of the combination of wire with wax was really beautiful. To have that result we had to create a lot of wax layers in combination with cold water which gave a stable form to the hot wax.
Posted 22 May 2015 12:45
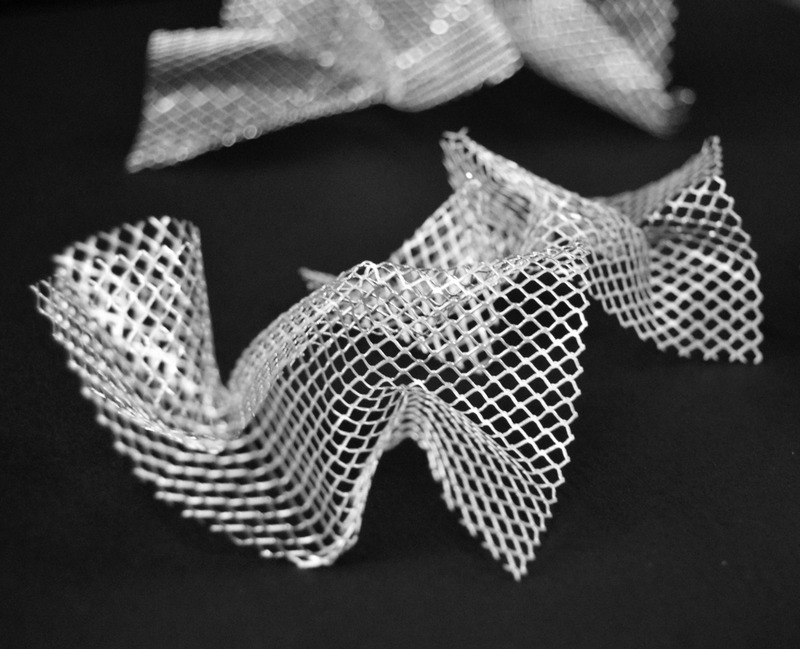
Our first attempt was to use folded wire mesh as a structure base for the wax to melt onto it. The first step was to fold the wire creating interesting shapes.
Posted 22 May 2015 12:41
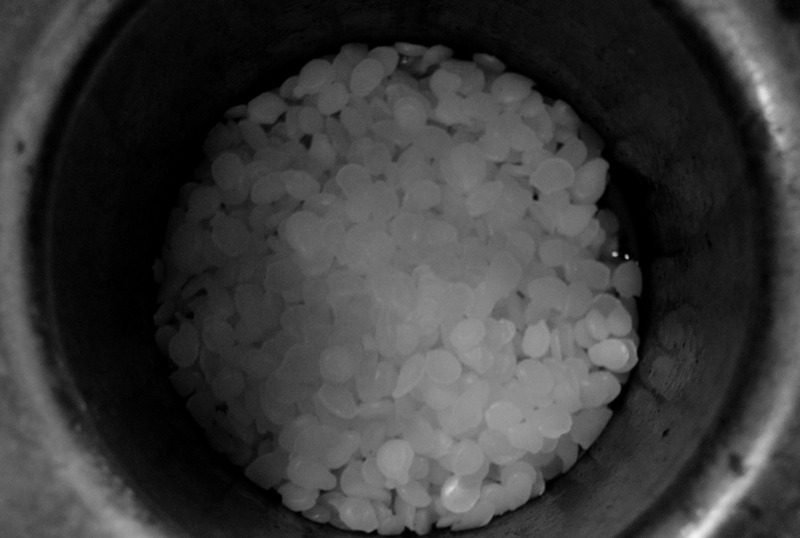
At the first session the first thing we had to do was to melt the wax. Melted wax was something that always fascinated me therefore the whole process was really fun for me rather than work.
Posted 22 May 2015 12:39