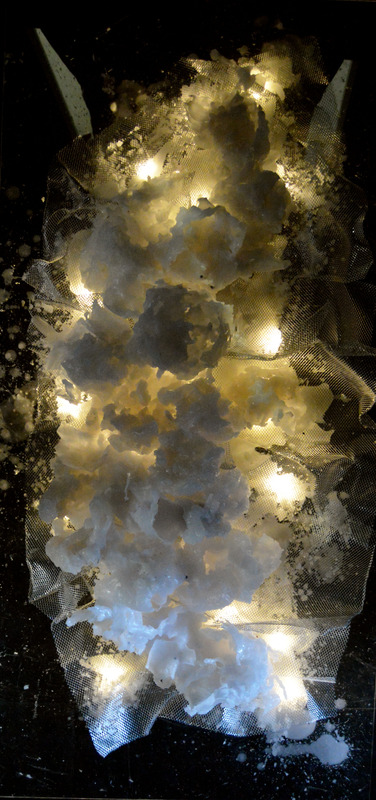
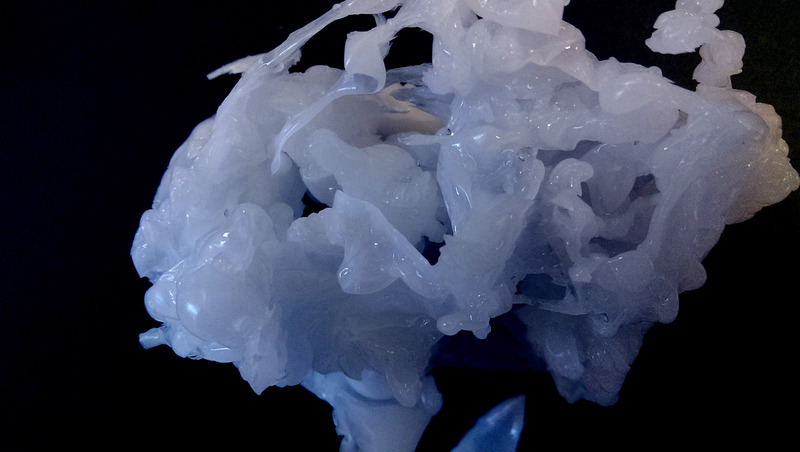
Final output with lighting behind Perspex to create a nice effect with wax
Posted 22 May 2015 12:19
Final piece on Perspex before adding lighting. It includes wax pieces using different techniques.
Posted 22 May 2015 09:24
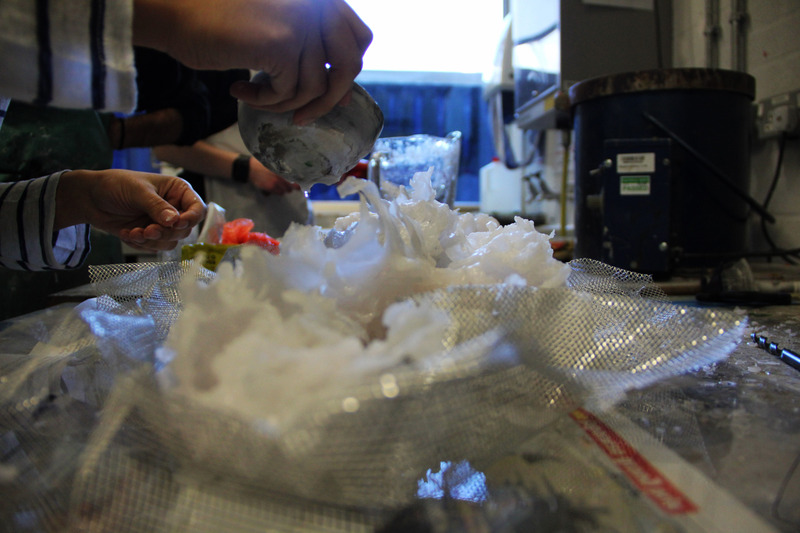
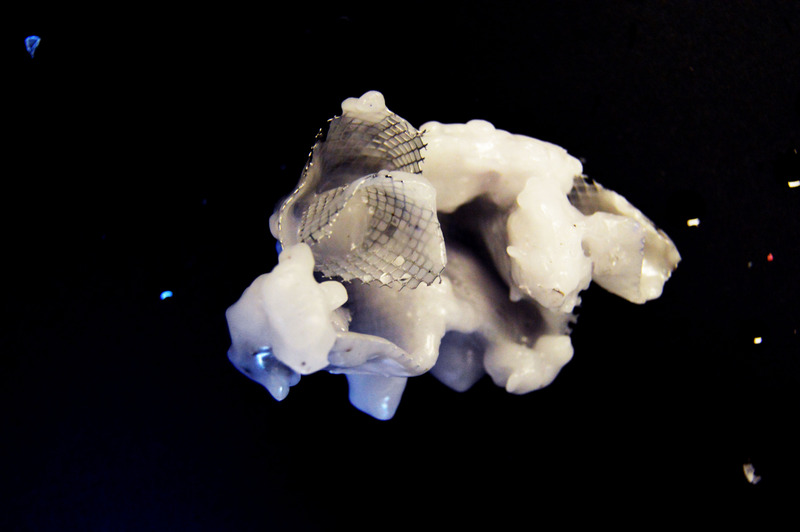
Day 4/ Pouring melting wax on wire mesh and wax pieces to connect them.
Posted 22 May 2015 09:22
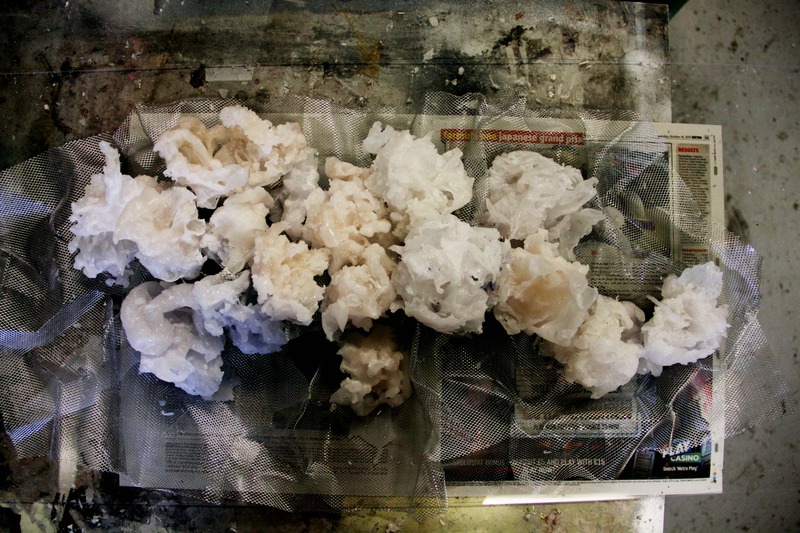
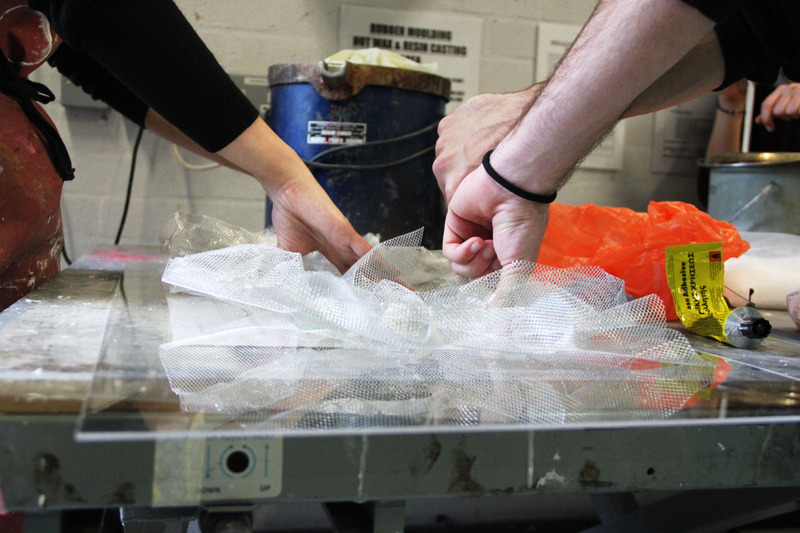
Day 4/ Preparing wire mesh on clear Perspex for our final product.
Posted 22 May 2015 09:19
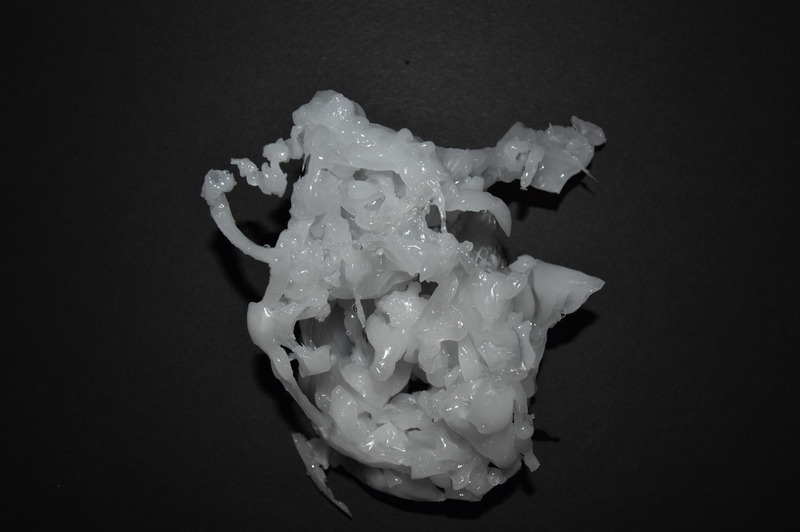
Day 3/ Connecting all wax pieces together by pouring hot wax on them.
Posted 22 May 2015 09:18
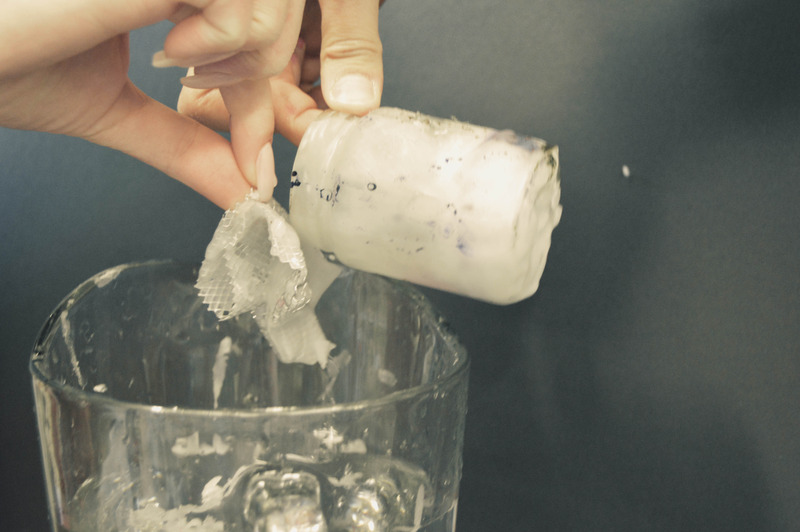
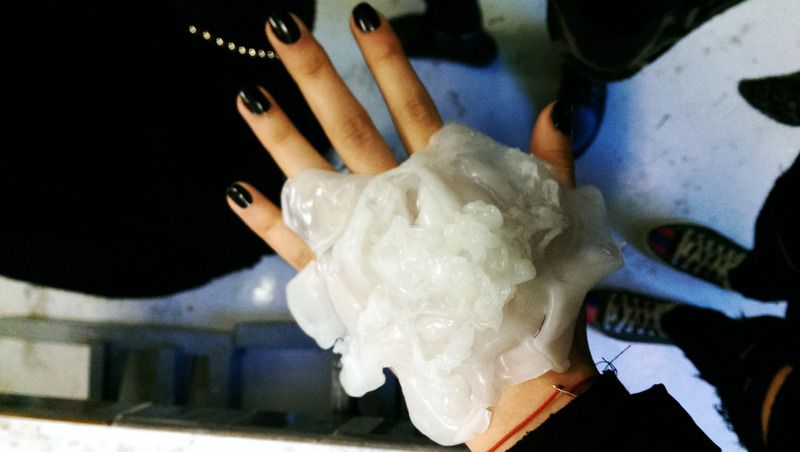
Day 2/ Experimental piece by pouring melting wax into cold water to get a natural look with texture.
Posted 22 May 2015 09:17
Day 2/ Experimental piece using wire mesh and nail polish to get some colour.
Posted 22 May 2015 09:14
Day 1/ Experimental piece using wire mesh
Posted 22 May 2015 09:11
Day 1/ Poured melting wax onto wire mesh shapes.
Posted 22 May 2015 09:11
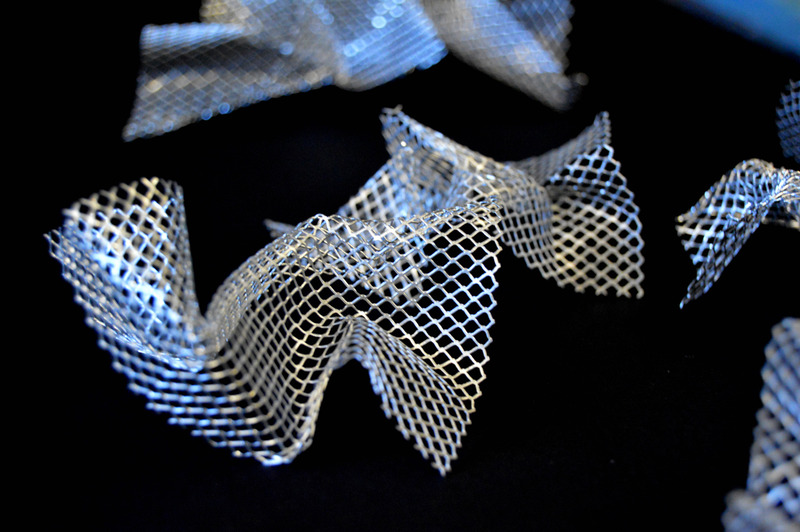
Day 1/ Different shapes using wire mesh
Posted 22 May 2015 09:07
Day 1/ Folding wire mesh to create shapes.
Posted 22 May 2015 09:06
Day 1/ Start the session by melting microcrystalline wax.
Posted 22 May 2015 09:04
Introduction to wax melting process
Posted 22 May 2015 09:02