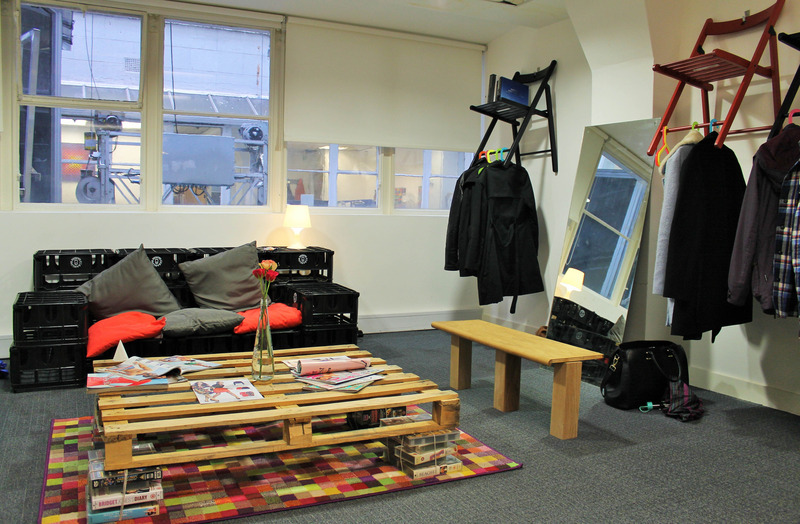
Day 6 - adding the final furnishings to the office space.
Posted 19 May 2015 17:48
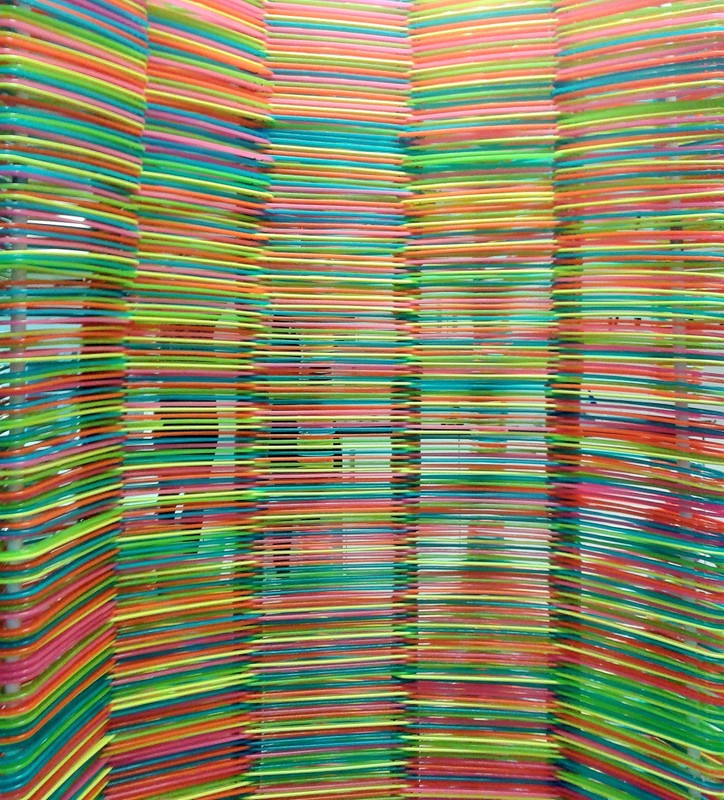
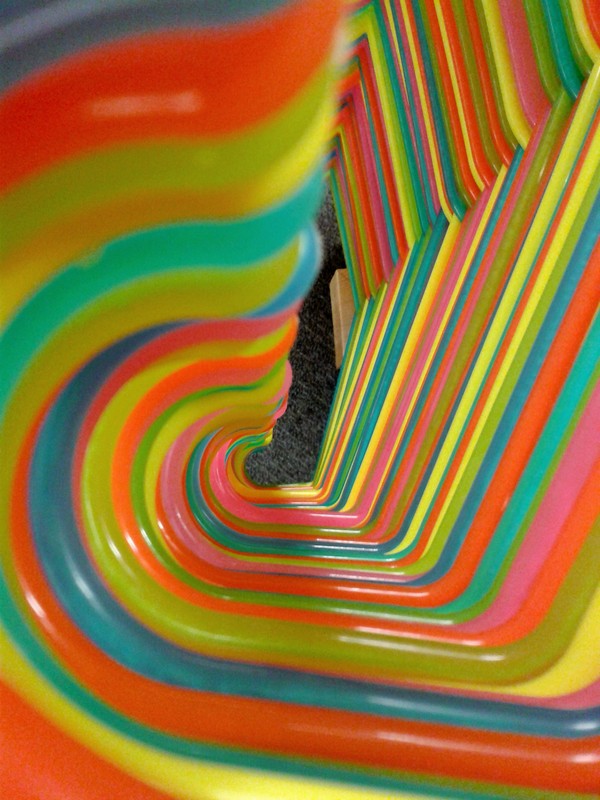
The final hanger partition. The levels of opacity vary at different viewing angles.
Posted 19 May 2015 17:44
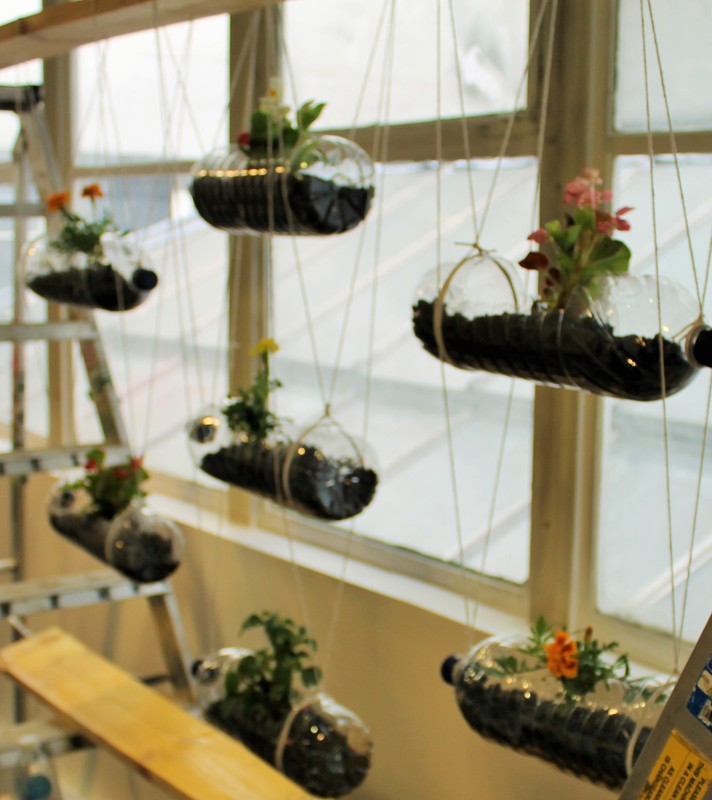
We used recycled plastic bottles as planters which we then suspended on rope from a beam balanced between two ladders. The screen is placed in front of the window so that the plants benefit from the natural light.
Posted 19 May 2015 17:42
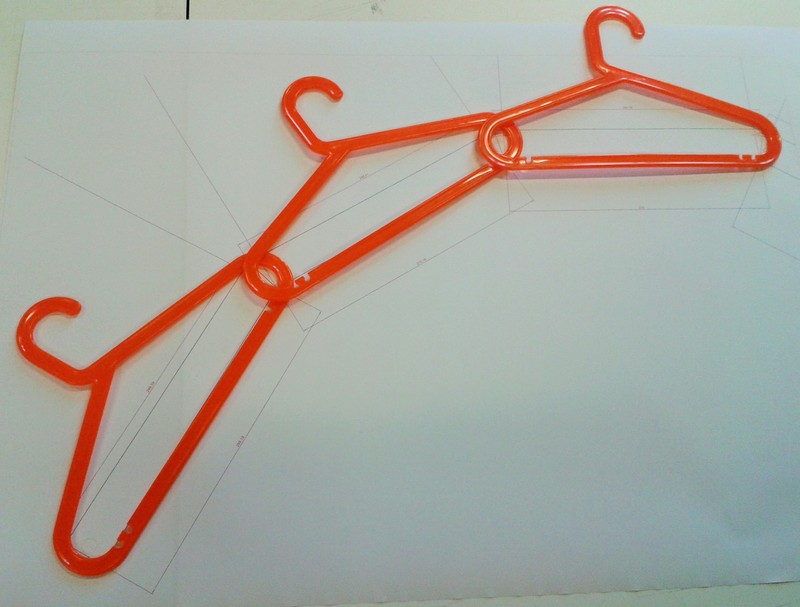
We decided that in order to brace the base of the hanger partition, it would be easier to make it out of one solid piece which the metal poles would be welded to. We drew a CAD plan of the curved base design and overlapped the physical hangers to double check the dimensions before it was taken to the workshop for cutting.
Posted 19 May 2015 17:37
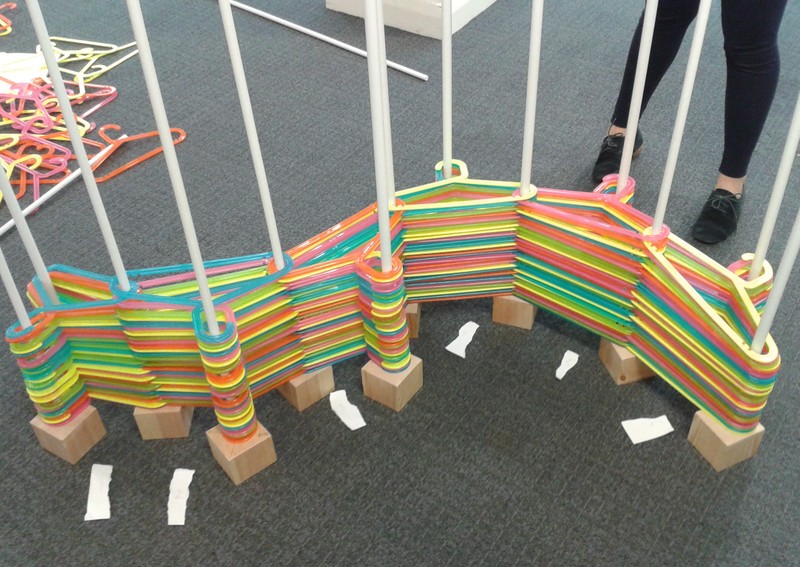
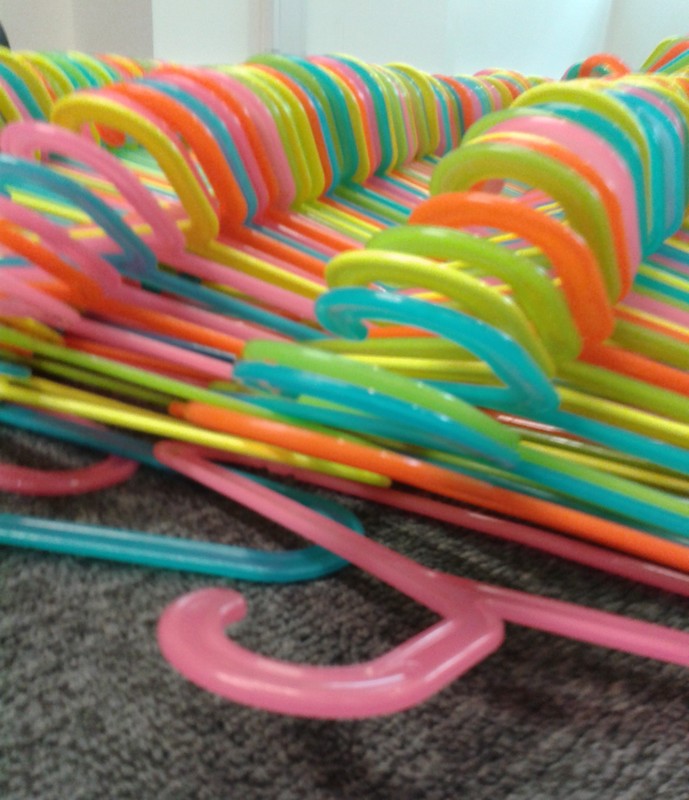
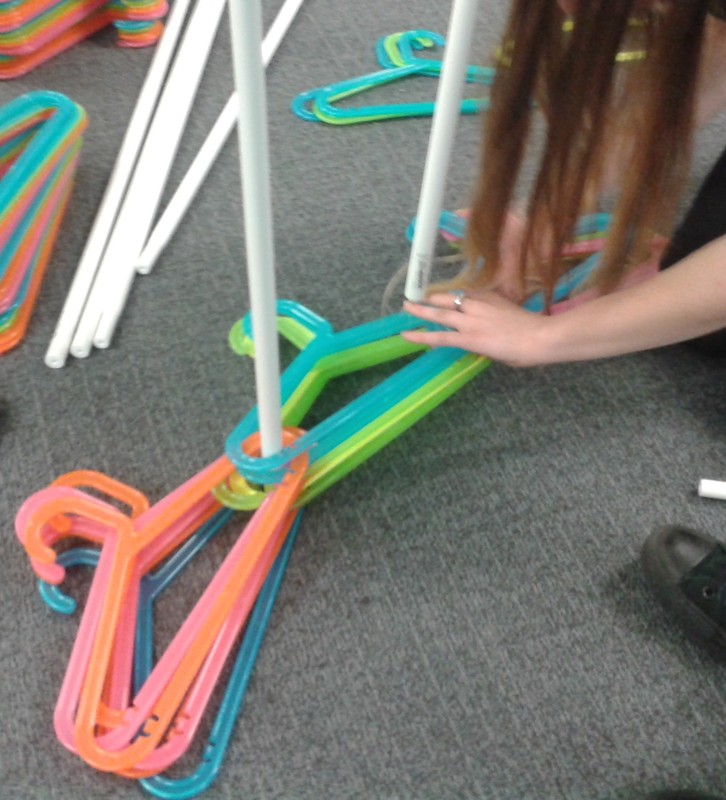
The new model was much more stable and we devised a numbering system in order to overlap the hangers as we stacked them whilst also creating an even distribution of colour across the partition.
Posted 19 May 2015 17:34
We attempted to resolve the stability problem by creating a double curve base using six hangers rather than five.
Posted 19 May 2015 17:32
As we built the hanger partition higher it became more and more unstable due to both the weight of the supporting poles and its curved shape, it eventually collapsed.
Posted 19 May 2015 17:30
Experimenting with creating an even distribution of colour across the hanger partition.
Posted 19 May 2015 17:27
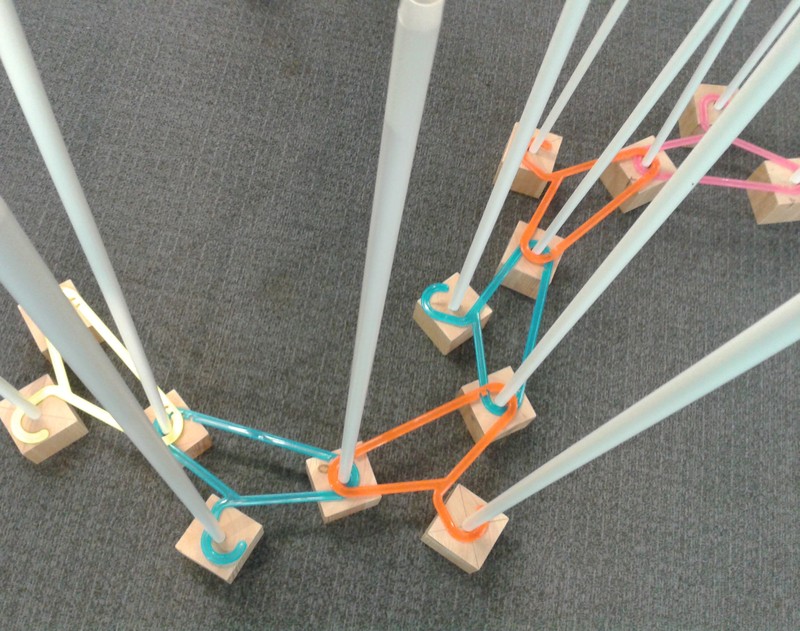
Day 2 - adding wooden bases under the poles to test the stability and alternating the stacked hangers to create potential for a more triangulated base structure.
Posted 19 May 2015 17:24
Day 1 - creating a test model for the hanger partition using metal poles to secure the hangers in place.
Posted 19 May 2015 17:20